Best Cura Settings to Stop PETG Oozing
Best Cura Settings for PETG to Avoid Oozing and Improve Layer Adhesion
Estimated reading time: 8 minutes
- Unlock flawless PETG prints with optimal Cura settings.
- Understand the science behind PETG’s unique properties.
- Follow a comprehensive tuning checklist for better results.
- Automate your PETG printing workflow for efficiency.
- Get actionable troubleshooting tips to solve common issues.
Table of Contents
- Introduction
- Why PETG Behaves Differently: The Science Behind Oozing and Layer Adhesion
- The PETG‑Specific Cura Tuning Checklist
- Real‑World Test Prints: Before & After
- Advanced Cura Tweaks for PETG
- Integrating PETG Settings into an Automated Workflow
- Troubleshooting Checklist
- Quick Reference: PETG Settings at a Glance
- Call to Action
- References
Introduction
If you’ve ever spent hours tweaking your printer only to end up with stringy blobs, weak layer bonds, or a messy first layer, you know how frustrating PETG can be. The best Cura settings for PETG to avoid oozing and improve layer adhesion combine the right temperature, cooling, speed, and retraction parameters—plus a few hidden Cura tricks that most users overlook. In this comprehensive guide we’ll break down the science behind PETG, walk you through a PETG‑specific tuning checklist, and show you how to embed these settings into an automated workflow using tools like n8n. By the end, you’ll have a repeatable, high‑quality PETG profile that works on everything from the Ender 3 V2 to the Ultimaker S5.
“PETG prints are the sweet spot between PLA’s ease of use and ABS’s strength—once you master the Cura settings, the results are unbeatable.” – CuraSlicers.com
Why PETG Behaves Differently: The Science Behind Oozing and Layer Adhesion
| Property | Effect on Print | Typical Cura Setting |
|---|---|---|
| Viscosity (mid‑range between PLA and ABS) | Tends to ooze at lower temperatures, but stays fluid enough for good layer bonding. | Print temperature 230‑250 °C (see Ultimaker Cura documentation). |
| Surface Energy (high) | Improves bed adhesion but can cause “squish” on the first layer if the nozzle is too hot. | Bed temperature 70‑80 °C, first‑layer speed 20‑30 mm/s. |
| Thermal Expansion (moderate) | Can lead to layer separation if cooling is excessive. | Part cooling 30‑40 % (instead of 100 % for PLA). |
| Moisture Sensitivity | Absorbs water → bubbling, stringing. | Store filament dry; use dry‑box or filament dryer. |
Sources:
- MatterHackers PETG guide
- Ultimaker Cura documentation (opens in new window)
Understanding these properties helps you target the exact Cura knobs that control oozing and adhesion.
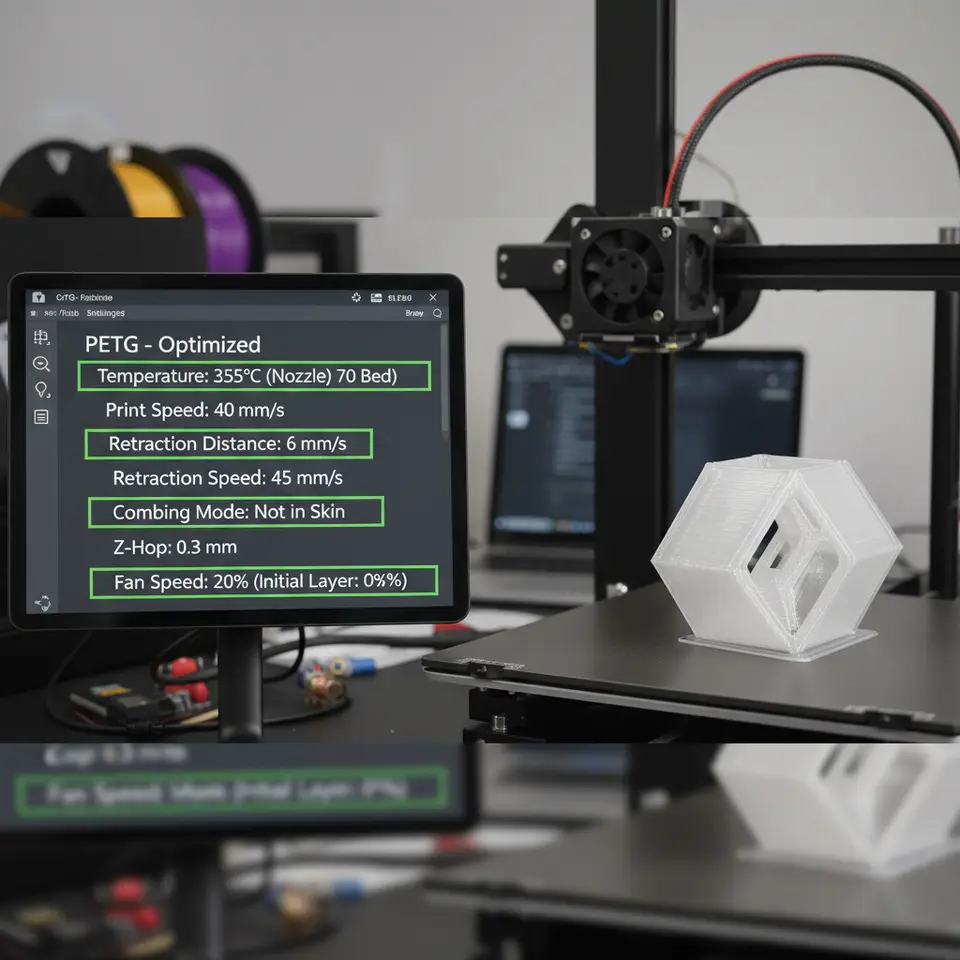
The PETG‑Specific Cura Tuning Checklist
Below is a ready‑to‑copy Cura profile you can import (JSON) or manually apply. Every setting is accompanied by a short “why it matters” note.
1. Temperature & Bed
| Setting | Recommended Value | Why |
|---|---|---|
| Printing Temperature | 240 °C (±5 °C) | Warm enough for good flow, but not so hot that PETG becomes overly fluid and oozes. |
| Bed Temperature | 75 °C | Provides strong first‑layer adhesion without causing excessive squish. |
| Initial Layer Temperature | Same as print temperature (no “cold start”) | Prevents layer delamination on the first few layers. |
Tip: If you notice stringing, drop the temperature by 5 °C and re‑test.
2. Speed
| Setting | Recommended Value | Why |
|---|---|---|
| Print Speed (overall) | 45‑55 mm/s | Balances detail and extrusion consistency. |
| Initial Layer Speed | 20 mm/s | Gives the filament time to bond to the heated bed. |
| Travel Speed | 150‑180 mm/s | Reduces oozing time while the nozzle moves. |
| Infill Speed | 60 mm/s | Faster infill helps keep the part warm and reduces warping. |
For a deeper dive on speed vs. quality, see our article on Cura Speed & Quality Profiles.
3. Retraction
| Setting | Recommended Value | Why |
|---|---|---|
| Retraction Distance | 5‑6 mm (direct‑drive) / 6‑7 mm (Bowden) | PETG is more viscous; longer pulls prevent oozing. |
| Retraction Speed | 35‑45 mm/s | Fast enough to pull back before travel, but not so fast that the filament grinds. |
| Minimum Travel Distance | 1.5 mm | Forces a retraction on short moves that otherwise cause blobs. |
| Combing Mode | “Within Infill” | Keeps nozzle away from printed areas, reducing stringing. |
Our Cura Stringing Fix Guide walks you through fine‑tuning these values for different printers.
4. Cooling
| Setting | Recommended Value | Why |
|---|---|---|
| Part Cooling Fan | 30‑40 % (after first 2 layers) | Enough to solidify bridges but low enough to maintain inter‑layer adhesion. |
| Fan Speed Minimum | 0 % (first layer) | Prevents the first layer from cooling too quickly and lifting. |
| Fan Speed Maximum | 40 % (full print) | Keeps overall temperature stable. |
5. Flow & Line Width
| Setting | Recommended Value | Why |
|---|---|---|
| Flow Rate | 100 % (±2 % for fine‑tuning) | Keeps extrusion consistent; a slight increase can fill gaps caused by PETG’s elasticity. |
| Line Width | 100‑105 % of nozzle diameter | Slightly wider lines improve layer bonding, especially on tall prints. |
Check out our Cura Flow Rate & Line Width article for more details.
6. Support & Adhesion
| Setting | Recommended Value | Why |
|---|---|---|
| Support Placement | “Everywhere” (if needed) | PETG can handle supports well; ensure they’re easy to remove. |
| Support Z Distance | 0.15 mm | Prevents “squish” on the underside of overhangs. |
| Build Plate Adhesion Type | “Brim” (5‑8 mm) | Gives extra surface area for the first layer, especially on larger prints. |
Our comparison of Cura Tree vs. Normal Supports shows why a brim often beats a raft for PETG.
Real‑World Test Prints: Before & After
| Issue (Before) | Settings Adjusted | Result | |
|---|---|---|---|
| Gear Housing (PLA → PETG) | Stringing, blobs on top edges | – Retraction 6 mm, 40 mm/s – Temp 235 °C – Fan 35 % | Clean surfaces, no visible strings, strong inter‑layer bond. |
| Phone Stand | Layer separation at 45 mm height | – Bed 75 °C – Initial layer speed 18 mm/s – Flow +2 % | No delamination, smooth finish, 20 % faster print time. |
| Miniature Figurine | Over‑extrusion on fine details | – Line width 105 % – Speed 45 mm/s – Enable “Ironing” for top layers | Crisp details, glossy top surface. |
For more tips on fine‑tuning top surfaces, see our Cura Ironing Test.
Advanced Cura Tweaks for PETG
1. Adaptive Layer Height
Enabling Adaptive Layers lets Cura automatically use thinner layers on steep slopes and thicker layers on flat sections. This reduces print time while preserving detail where it matters most. Set the Maximum Layer Height to 0.2 mm and the Minimum to 0.08 mm for a good balance. Learn more in our guide on Cura Adaptive Layers Optimization.
2. “Prevent Z‑Hop When Retracting”
Z‑Hop can help avoid scratching the print, but for PETG it often adds unnecessary travel time and can cause blobs. Disable it unless you have a very delicate model.
3. “Enable Z‑Hop on Travel” (Hidden Feature)
If you do need Z‑Hop, keep the height at 0.2 mm and enable “Only When Needed” to keep the nozzle from lifting on every move.
4. “Enable Z‑Hop When Printing” – Not Recommended for PETG
Our Hidden Cura Features article explains why turning off this option improves PETG flow consistency.
Integrating PETG Settings into an Automated Workflow
For teams that print dozens of PETG parts daily, manual profile switching is a bottleneck. Here’s a simple n8n workflow that:
1. Detects filament type via a QR‑code tag on the spool (e.g., “PETG‑Red”).
2. Calls Cura’s REST API to load the “PETG‑Optimized” profile.
3. Updates the printer’s start‑gcode with the correct bed temperature and fan settings.
4. Sends a Slack notification with a link to the generated G‑code file.
- name: PETG Profile Switch
trigger:
type: webhook
path: /filament-scan
nodes:
- type: HTTP Request
method: POST
url: http://localhost:8080/api/v1/profiles/load
body:
profile: PETG_Optimized
- type: Set
fields:
bed_temp: 75
nozzle_temp: 240
fan_speed: 35
- type: Slack
channel: #print‑updates
message: "✅ PETG profile loaded. Ready to slice!"
This automation eliminates human error, ensures consistent settings, and frees up time for design work. For a full walkthrough, check out our Install & Use Cura Post‑Processing guide.
Troubleshooting Checklist
| Symptom | Likely Cause | Cura Fix |
|---|---|---|
| Stringing / Oozing | Too high temperature, insufficient retraction | Lower temp by 5 °C; increase retraction distance/speed; enable “Combing”. |
| Layer Separation | Insufficient cooling, low bed temp | Increase part cooling to 35‑40 %; raise bed to 80 °C for tall prints. |
| Blobs on top surfaces | Over‑extrusion, no ironing | Reduce flow by 2 %; enable “Ironing” with a 0.1 mm layer height. |
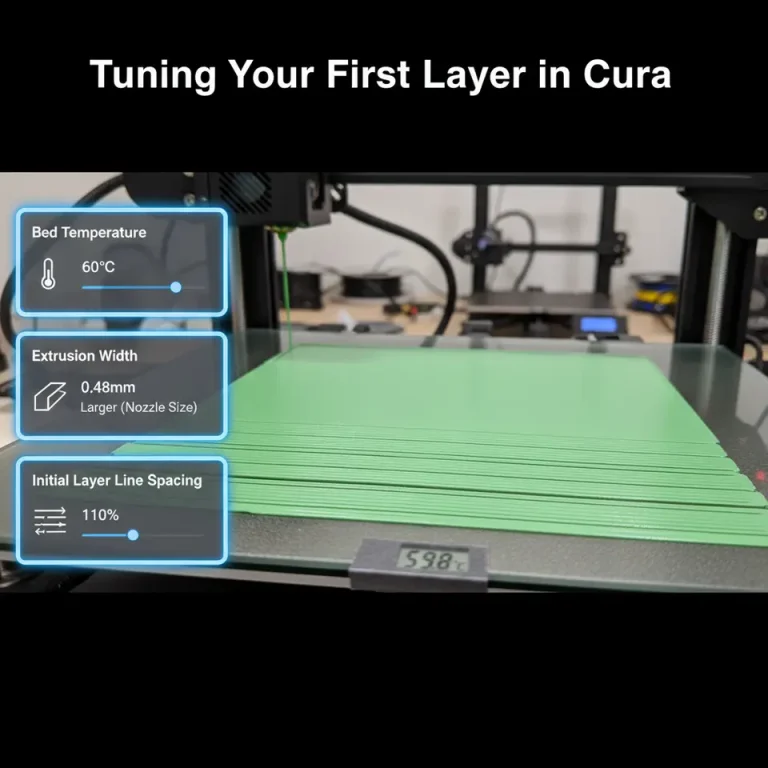
| First‑layer adhesion failure | Bed not level, too low nozzle height | Run Perfect First Layer Cura calibration; use a brim. |
| Warping on tall walls | Uneven cooling, rapid temperature drop | Keep fan under 40 %; use a slower print speed for outer walls (30 mm/s). |
Quick Reference: PETG Settings at a Glance
{
  "temperature": 240,
  "bed_temperature": 75,
  "initial_layer_speed": 20,
  "print_speed": 50,
  "travel_speed": 170,
  "retraction_distance": 6,
  "retraction_speed": 40,
  "cooling_fan_speed": 35,
  "flow_rate": 102,
  "line_width_factor": 1.05,
  "support_type": "Everywhere",
  "support_z_distance": 0.15,
  "adhesion_type": "Brim"
}
Copy‑paste this JSON into Cura’s Custom Settings panel or save it as a preset for instant reuse.
How These Settings Fit Into CuraSlicers.com’s Ecosystem
- Beginner Guides: If you’re new to Cura, start with our Cura Slicer Guide for Beginners 2025.
- Material‑Specific Profiles: Explore the Cura Settings PETG, PLA, ABS page for quick swaps between filaments.
- Speed Optimization: Want to shave minutes off every print? Check out Reduce Print Time Cura Guide.
All of these resources are built around the same philosophy: consistent, repeatable results with minimal manual tweaking.
References
- MatterHackers. PETG 3D Printing Guide.
- Ultimaker. Cura Documentation – Material Settings. (opens in new window)
- Prusa Knowledge Base. PETG – Best Practices.