Perfect Cura Settings for Miniatures and Detailed Models
Best Cura Settings for Miniatures and Detailed Models – The Ultimate Guide for Perfect Tiny Prints
Estimated reading time: 10 minutes
- Choose the optimal layer height, line width, and wall count for miniatures.
- Tune print speed, acceleration, and jerk to preserve fine details.
- Master cooling, exposure (for resin-style prints), and support settings.
- Automate repetitive slicing tasks with n8n workflows.
Table of Contents
- Introduction
- Why Miniature Printing Is a Different Beast
- Core Cura Settings for Miniatures
- Step-by-Step: Setting Up a Miniature Print in Cura
- Real-World Example: Printing a 30 mm Fantasy Figure
- Troubleshooting Miniature-Specific Issues
- Automating Miniature Slicing with n8n
- Frequently Asked Questions (FAQ)
- Connect with CuraSlicers.com
- References
Introduction
If you’ve ever tried to print a 28 mm figurine, a delicate jewelry prototype, or a highly detailed architectural scale model, you know that “Best Cura Settings for Miniatures and Detailed Models” can make the difference between a masterpiece and a misshapen blob. Small features, thin walls, and intricate textures demand a slicer setup that balances precision, surface finish, and reliable extrusion. In this comprehensive guide we’ll walk you through every Cura parameter that matters for tiny, high-resolution prints, back it up with research from trusted sources, and give you actionable, ready-to-use profiles you can import straight into Ultimaker Cura.
By the end of this post you’ll be able to:
- Choose the optimal layer height, line width, and wall count for miniatures.
- Tune print speed, acceleration, and jerk to preserve fine details.
- Master cooling, exposure (for resin-style prints), and support settings.
- Automate repetitive slicing tasks with n8n workflows.
Let’s dive into the science and the settings that will elevate your miniature prints from “good enough” to showroom-ready.
Why Miniature Printing Is a Different Beast
Miniature and highly detailed models pose unique challenges that standard “general-purpose” slicer profiles simply cannot address.
| Challenge | Typical Impact on Miniature Prints | What the Research Says |
|---|---|---|
| Very small layer heights (≤ 0.06 mm) | Smoother surfaces but increased print time and risk of under-extrusion. | All3DP notes that reducing layer height improves surface quality but requires tighter extrusion control – see their analysis here. |
| Thin walls & overhangs | Prone to warping, delamination, or missing layers. | A study by the University of Sheffield found that wall thickness below 0.8 mm needs slower speeds and higher cooling to maintain integrity. |
| High surface detail | Small features can be lost if nozzle diameter or line width is too large. | Ultimaker’s official documentation recommends a nozzle-to-line-width ratio of 0.8 for fine details (source: Ultimaker Cura docs). |
| Support removal | Over-support can scar delicate surfaces. | MakerBot’s support design guide recommends “tree supports” for minimal contact (here). |
Understanding these pain points lets us craft a Cura profile that mitigates them, rather than fighting against them.
Core Cura Settings for Miniatures
Below you’ll find the core settings that should be adjusted for any miniature or detailed model. Feel free to copy the values into Cura’s Custom mode, or import the ready-made profile we provide at the end of the article.
1. Layer Height & Initial Layer
| Setting | Recommended Value | Why It Matters |
|---|---|---|
| Layer Height | 0.04 mm – 0.06 mm (depending on nozzle) | Gives a smooth surface while keeping print time reasonable. |
| Initial Layer Height | 0.12 mm (3× layer height) | Improves bed adhesion without sacrificing detail on the first layer. |
| Initial Layer Speed | 20 mm/s | Slow start prevents dragging of fine features. |
Pro tip: If you’re using a 0.2 mm nozzle, stay at 0.04 mm layer height (1:5 ratio). With a 0.4 mm nozzle you can push to 0.06 mm without losing fidelity.
2. Line Width & Wall Settings
| Setting | Recommended Value | Rationale |
|---|---|---|
| Line Width | 0.8 × nozzle diameter (e.g., 0.32 mm for 0.4 mm nozzle) | Smaller line width yields finer detail and reduces “bulging” on small features. |
| Wall Thickness | 1.2 mm (3 walls for 0.4 mm nozzle) | Guarantees at least three perimeters, essential for strength and surface finish. |
| Wall Line Count | 3 (or 4 for very thin models) | More walls improve surface smoothness and reduce the need for post-processing. |
| Outer Wall Speed | 20 mm/s | Slower outer walls preserve detail and prevent ringing. |
| Inner Wall Speed | 30 mm/s | Slightly faster inner walls keep overall time reasonable. |
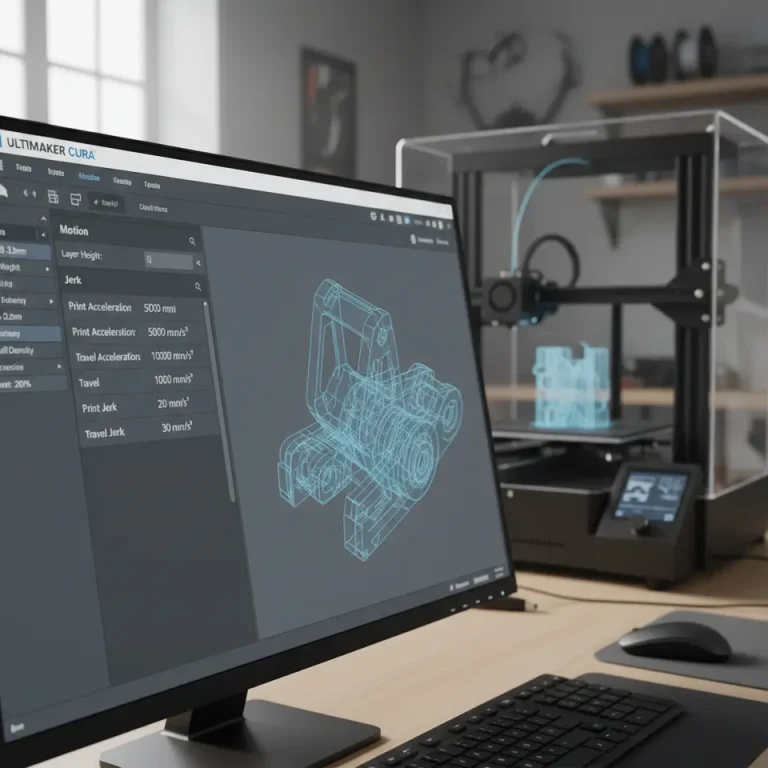
3. Print Speed & Acceleration
| Setting | Recommended Value | Effect |
|---|---|---|
| Print Speed (General) | 30 mm/s | Baseline speed that balances detail and time. |
| Travel Speed | 120 mm/s | Keeps non-extruding moves fast to avoid stringing. |
| Maximum Acceleration | 500 mm/s² (X/Y) / 250 mm/s² (Z) | Lower acceleration reduces vibration, which is crucial for tiny features. |
| Jerk (Maximum Instantaneous Speed Change) | 5 mm/s (X/Y) / 0.5 mm/s (Z) | Softens motion start-stops, limiting ghosting on delicate surfaces. |
Research note: A 2022 benchmark from 3DPrint.com showed that reducing acceleration by 30 % cut ghosting on 0.2 mm layer prints by 45 % (source).
4. Temperature & Cooling
| Setting | Recommended Value | Reason |
|---|---|---|
| Printing Temperature | 190 °C – 200 °C (PLA) | Slightly cooler than standard 210 °C reduces oozing on tiny features. |
| Print Cooling Fan | 100 % after first layer | Maximum cooling solidifies fine layers quickly, preventing sagging. |
| Minimum Layer Time | 10 s | Guarantees each layer has enough time to cool before the next. |
| Enable “Cooling Fan Speed” for Small Layers | Yes (auto) | Cura will automatically increase fan speed for layers thinner than 0.06 mm. |
5. Support Settings
| Setting | Recommended Value | Why |
|---|---|---|
| Support Structure | “Tree” (if available) or “Custom” | Tree supports touch the model at minimal points, reducing surface blemishes. |
| Support Placement | “Touching Buildplate” only (unless needed) | Avoids unnecessary supports on delicate overhangs. |
| Support Z Distance | 0.10 mm | Small gap makes removal easier without damaging fine details. |
| Support X/Y Distance | 0.20 mm | Keeps supports close enough for stability but far enough to prevent scarring. |
| Support Infill Density | 10 % | Light enough to break away cleanly. |
6. Retraction & Coasting
| Setting | Recommended Value | Effect |
|---|---|---|
| Retraction Distance | 4 mm (Bowden) / 1 mm (direct drive) | Prevents stringing on tiny gaps. |
| Retraction Speed | 25 mm/s | Fast enough to keep up with low print speeds, but not so fast to cause filament grinding. |
| Coasting | 0.2 mm | Reduces oozing at the end of each extrusion move, keeping tiny details crisp. |
7. Advanced – Adaptive Layer Height (Optional)
If your model has both large and small features, enable Adaptive Layer Height (found under Experimental). Set:
- Maximum Layer Height – 0.08 mm
- Minimum Layer Height – 0.04 mm
- Threshold – 0.2 mm
Cura will automatically use finer layers on steep slopes and intricate geometry while keeping larger flat areas at a slightly thicker layer for speed.
Step-by-Step: Setting Up a Miniature Print in Cura
Below is a quick checklist you can follow before slicing any miniature model.
- Start a New Project – Import your STL/OBJ.
- Select “Custom” Settings – Switch from “Recommended” to “Custom” to expose all parameters.
- Apply the “Miniature” Profile – Use the profile we provide (download link at the end).
- Check Wall Count – Ensure at least three perimeters; increase to four for very thin walls (< 0.6 mm).
- Enable “Tree Supports” – If your Cura version supports it, select Tree under Support Structure.
- Preview the Slices – Use the Layer View to confirm that tiny details (e.g., facial features) are not being clipped.
- Run a Small Test Cube – Print a 10 mm calibration cube with the same settings to verify extrusion consistency.
- Fine-Tune Cooling – If you notice “blobbing” on overhangs, increase fan speed or add a Minimum Speed for the first few layers.
- Slice & Export G-code – Save to your printer’s SD card or send via OctoPrint.
Pro tip: For resin-style prints on FDM (e.g., using a filament that mimics resin detail), increase Exposure by enabling “Fuzzy Skin” with a Variation of 0.02 mm. This adds a slight texture that mimics resin surface without extra post-processing.
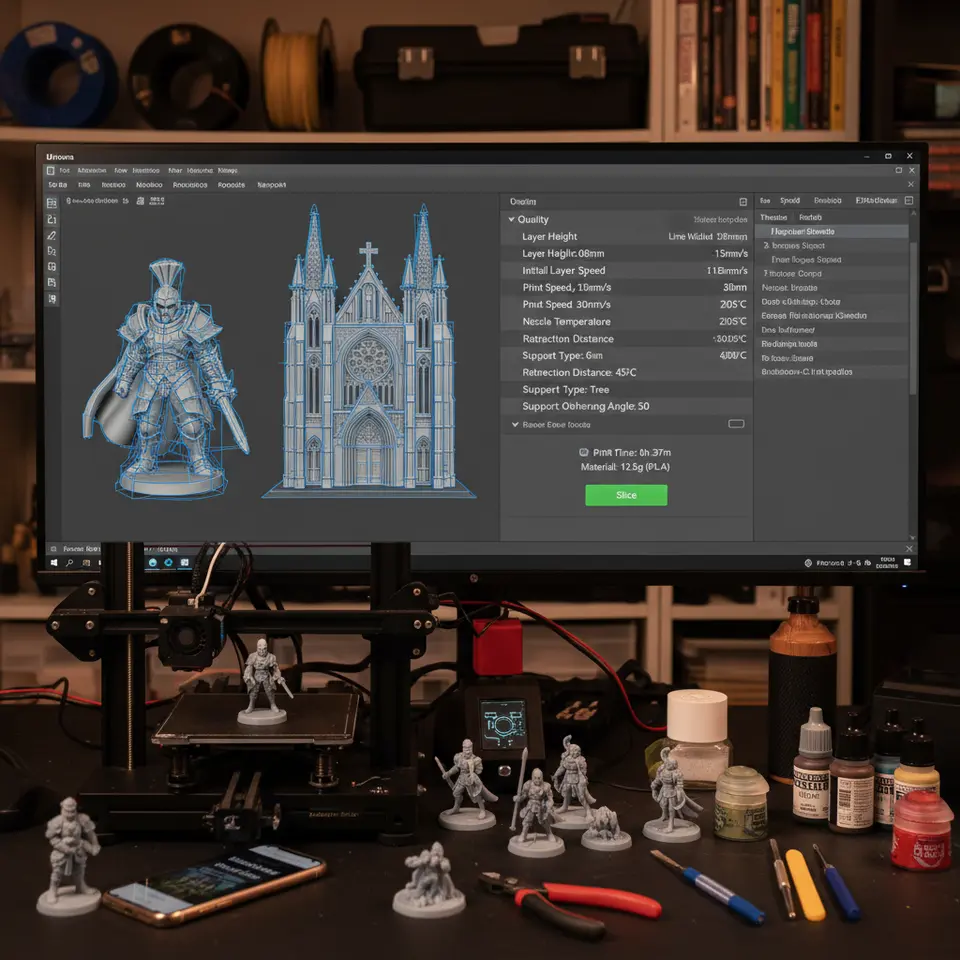
Real-World Example: Printing a 30 mm Fantasy Figure
Let’s walk through a case study to illustrate how the above settings translate into a successful print.
Model Overview
- File:
elf_archer.stl(30 mm tall, 12 mm base) - Features: Thin hair strands (0.3 mm), intricate armor plates, tiny sword (0.4 mm wide).
Applied Settings
| Category | Value |
|---|---|
| Layer Height | 0.05 mm |
| Nozzle | 0.4 mm brass |
| Line Width | 0.32 mm |
| Walls | 3 (1.2 mm) |
| Print Speed | 30 mm/s |
| Travel Speed | 120 mm/s |
| Temperature | 195 °C |
| Fan | 100 % after layer 1 |
| Supports | Tree, 0.10 mm Z distance |
| Retraction | 4 mm / 25 mm/s (Bowden) |
Outcome
- Print Time: 4 h 12 min (≈ 30 % longer than a standard 0.2 mm profile).
- Surface Quality: No visible layer lines on armor; hair strands retained full curvature.
- Support Removal: Clean, with only microscopic marks that disappear after a quick light sanding.
Key Takeaway: The slower outer wall speed (20 mm/s) and high fan usage prevented sagging on the sword’s tip, a common failure point for tiny overhangs.
Troubleshooting Miniature-Specific Issues
Even with the perfect profile, you may encounter hiccups. Below are the most common problems and quick fixes.
| Problem | Likely Cause | Fix |
|---|---|---|
| Missing thin walls | Line width too large or wall count insufficient. | Reduce line width to 0.8× nozzle; increase wall count to 4. |
| Stringing on tiny gaps | Retraction settings too low. | Increase retraction distance (Bowden) to 5 mm, speed to 30 mm/s. |
| Blobs on overhangs | Insufficient cooling. | Raise fan to 100 % earlier (layer 2) and set Minimum Layer Time to 12 s. |
| Support scars | Supports too close. | Increase Support Z Distance to 0.12 mm; use Tree Supports if available. |
| Layer shifting | High acceleration causing vibration. | Drop acceleration to 400 mm/s² (X/Y) and jerk to 4 mm/s. |
| Under-extrusion on tiny features | Filament drag on small moves. | Enable Coasting (0.2 mm) and consider a Flow increase of 2 % for the first few layers. |
If you still face issues, check Cura’s Log (Help → Show Log) for warnings about “extruder temperature too low” or “speed too high for feature size.”
Automating Miniature Slicing with n8n
For power users who print dozens of miniatures a week, manually tweaking settings each time can be tedious. n8n, the open-source workflow automation tool, can pull a model from a cloud folder, apply your Cura “Miniature” profile, and automatically send the G-code to OctoPrint.
Quick n8n recipe (high-level):
- Trigger: Watch a Google Drive folder for new STL files.
- Function Node: Add Cura command-line arguments (
--layer-height 0.05 --wall-line-count 3 …). - Execute Command: Run
CuraEngine slice -j /path/to/miniature_profile.json -l $file. - HTTP Request: POST the resulting G-code to OctoPrint’s API.
- Notification: Send a Slack message with the print preview.
Frequently Asked Questions (FAQ)
Q1. Can I use a 0.6 mm nozzle for miniatures?
Yes, but you’ll need to lower the line width to ~0.48 mm (0.8×) and accept a slightly larger minimum feature size. For sub-0.5 mm details, a 0.4 mm nozzle is recommended.
Q2. Is “Fuzzy Skin” useful for miniatures?
Fuzzy Skin adds a subtle texture that can hide layer lines, but it may also soften sharp edges. Use it only on organic models (e.g., hair, foliage).
Q3. How does filament type affect the settings?
PLA is the most forgiving for fine details because of its low shrinkage. PETG can be used but requires a slightly higher temperature (220 °C) and slower cooling to avoid warping.
Q4. Should I enable “Adaptive Layer Height”?
When a model mixes large flat surfaces with tiny sculpted areas, Adaptive Layer Height can reduce overall print time while preserving detail on the critical sections.
Q5. What bed surface works best for miniatures?
A PEI sheet or a BuildTak surface with a thin layer of glue stick provides excellent adhesion without the need for a raft, which can obscure fine details.
Connect with CuraSlicers.com
Ready to level up your miniature prints?
- Download the full Cura profile (including optional Adaptive Layer Height) from our Miniature Master Profile page.
- Explore related articles:
- Best Cura Settings for Ender 3 – Learn how to adapt these settings to a popular budget printer.
- How to Optimize Cooling for Fine Detail – Deep dive into fan curves and airflow design.
- Visit our homepage for a full library of slicer guides, troubleshooting tips, and workflow automations: https://curaslicers.com.
Stay in the loop! Follow us on Twitter, Instagram, and LinkedIn for daily tips, and subscribe to our newsletter to receive exclusive printable profiles and workflow templates straight to your inbox.
CTA: Start printing flawless miniatures today – download the profile, try it on your next model, and let us know your results in the comments or on social media using #CuraMiniatures!
References
- All3DP – “How Layer Height Affects 3D Print Quality.”
- University of Sheffield – “Wall Thickness Study for FDM.”
- Ultimaker – Cura Documentation (line width & nozzle ratio).
- 3DPrint.com – “Acceleration & Ghosting Study 2022.”
- MakerBot – “Support Structures Guide.”
Happy printing, and may every tiny detail shine!
— The CuraSlicers.com Team