Cura BLTouch Start & End G‑Code Guide
Cura Slicer G‑Code Start and End Script Examples for BLTouch and Auto‑Bed Leveling
Estimated reading time: 8 minutes
- Ready-to-use G-code snippets for different firmware families
- Step-by-step guide to adapting scripts to your printer
- Practical takeaways for implementing the scripts
- FAQs covering common troubleshooting issues
Table of Contents
- Why a Custom Start/End G‑Code Matters
- The Anatomy of a Perfect Start G‑Code for BLTouch
- End G‑Code – Clean Shutdown & Bed Preservation
- Adapting the Scripts to Different Firmware
- Practical Takeaways – Your Checklist
- How This Connects to CuraSlicers.com
- Real‑World Results – Case Studies
- Frequently Asked Questions
- Bonus: Automating G‑Code Generation with n8n
- Call to Action
Why a Custom Start/End G‑Code Matters
A 3D printer is a mechanical system that must be homed, leveled, and pre‑heated before the extruder can reliably lay down filament. The default Cura start/end blocks are generic – they assume a bare‑metal hot‑bed without a probe, and they lack safety checks that protect your hardware. When you add a BLTouch or any other auto‑bed‑leveling (ABL) probe, you need to:
- Home the axes in the correct order – many printers require Z‑home after the probe has been deployed.
- Run the probing sequence – this creates a mesh that Cura will use for Z‑offset compensation.
- Set the correct Z‑offset – the distance between the nozzle tip and the probe tip when the probe is triggered.
- Prime the nozzle – a short extrusion that clears any ooze and ensures consistent extrusion from the first layer.
- Safely shut down – retract filament, turn off heaters, and park the head to avoid oozing or accidental burns after the print finishes.
Skipping any of these steps can lead to first‑layer adhesion failures, bed scratches, or thermal runaway. By embedding a robust start/end script directly into Cura, you guarantee that every slice follows the exact same, proven routine.
The Anatomy of a Perfect Start G‑Code for BLTouch
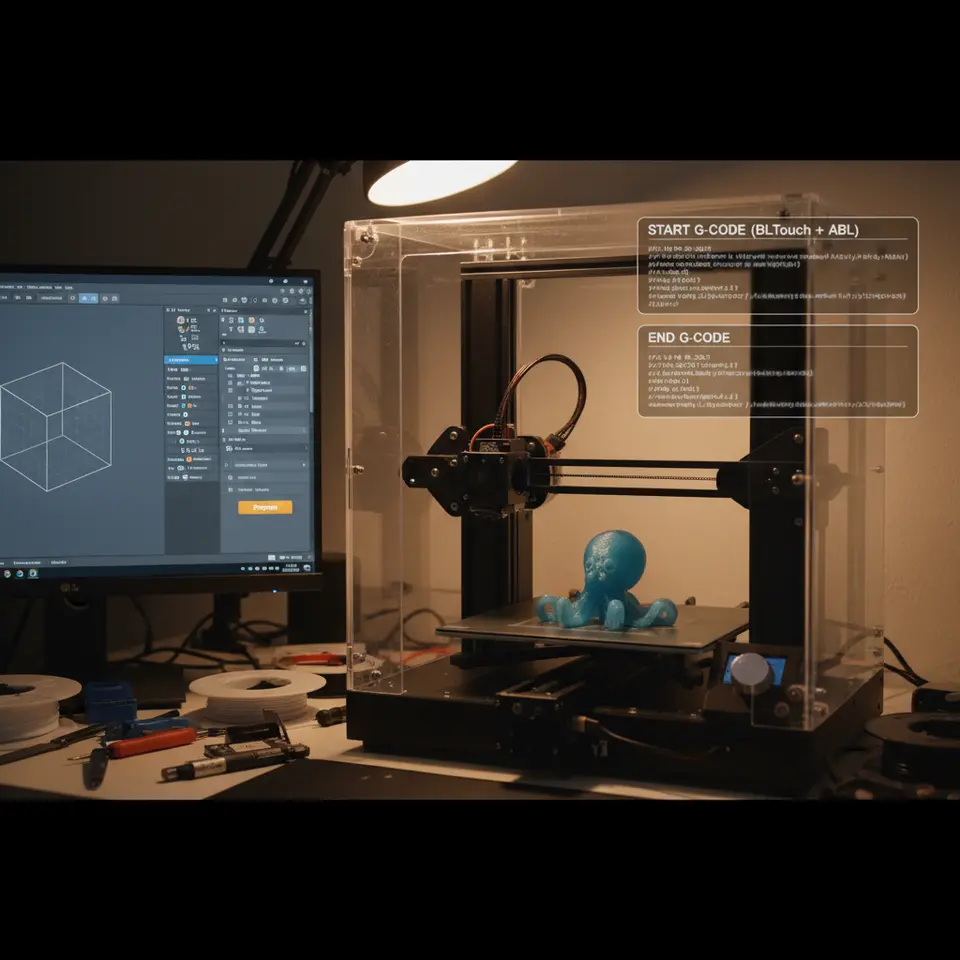
Below is a fully commented start G‑code block that works with Marlin 2.x, RepRapFirmware (Duet), and Klipper. Copy the whole snippet into Cura → Settings → Machine Settings → Start G‑code.
;=== Cura Slicer Start G‑Code for BLTouch / ABL ===
;--- Safety Checks -------------------------------------------------
M140 S{material_bed_temperature_layer_0} ; Set bed temperature (no wait)
M104 S{material_print_temperature_layer_0} ; Set hotend temperature (no wait)
M190 R{material_bed_temperature_layer_0} ; Wait for bed to reach target
M109 R{material_print_temperature_layer_0} ; Wait for hotend to reach target

;--- Home & Probe -------------------------------------------------
G28 ; Home all axes (X, Y, Z)
; If your printer uses a separate Z‑home after probing, uncomment the next line:
; G28 Z ; Home Z only after probe deployment (Marlin)
G29 ; Auto Bed Leveling (BLTouch mesh generation)

;--- Z‑Offset ------------------------------------------------------
; Adjust this value to match your calibrated probe offset.
; For Marlin use M851, for Klipper use SET_GCODE_OFFSET.
M851 Z-1.85 ; Example offset; replace with your own
M500 ; Save offset to EEPROM (Marlin only)

;--- Prime Line ----------------------------------------------------
G92 E0 ; Reset extruder distance
G1 X5 Y5 F6000 ; Move to front‑left corner for priming
G1 Z0.2 ; Position nozzle just above the bed
G1 E5 F300 ; Extrude a short wipe line
G1 X120 E15 F1200 ; Draw a prime line across the bed
G92 E0 ; Reset extruder again

;--- Print Start ---------------------------------------------------
; (Any additional custom commands can be placed here)
Line‑by‑Line Explanation
| Line | Purpose | Notes |
|---|---|---|
| `M140` / `M104` | Set bed & hotend temps without waiting. This speeds up the overall start‑up time because the printer can heat while it homes. | Cura variables (`{material_*}`) automatically pull the values you set per filament. |
| `M190` / `M109` | Blocking wait until the temperatures are reached. Prevents printing before the hardware is ready. | Essential for consistent first‑layer adhesion. |
| `G28` | Home all axes. The BLTouch must be retracted before the first move, which Marlin does automatically on `G28`. | Some printers require a separate Z‑home after probing – see the commented line. |
| `G29` | Run the ABL mesh generation. Cura will later apply the mesh to each layer. | Works with Marlin, RepRapFirmware (`G29` also works) and Klipper (`BED_MESH_CALIBRATE`). |
| `M851` | Set the Z‑offset for Marlin. Replace `-1.85` with your calibrated value. | Use `SET_GCODE_OFFSET Z=-1.85` for Klipper. |
| `M500` | Save the offset to EEPROM so it persists after power‑off. (Only Marlin) | For RepRapFirmware the offset is saved automatically in `config.g`. |
| `G92 E0` | Reset the extruder position to zero – prevents over‑retraction later. | |
| `G1 X5 Y5 …` | Move to a safe corner and prime the nozzle with a short line. This clears any ooze and ensures the filament is flowing before the real print starts. | Adjust the coordinates if your printer’s printable area differs. |
| `G1 Z0.2` | Position the nozzle at the ideal first‑layer height (0.2 mm for a 0.2 mm layer). | If you use a different layer height, change this value accordingly. |
| `G1 E5 … G1 X120 E15` | Extrude a wipe/prime line across the bed. The length and extrusion amount can be tuned for different filaments (e.g., more for TPU). | |
| `G92 E0` (again) | Reset extruder after priming to keep the slicer’s extrusion calculations accurate. |
Pro tip: If you run multiple printers with different BLTouch offsets, create a Cura profile per printer and store the appropriate `M851` value in the Start G‑code of that profile. This eliminates manual edits and guarantees consistency.
End G‑Code – Clean Shutdown & Bed Preservation
An effective end script does more than just turn off the heaters. It retracts filament, parks the nozzle, and optionally disables the BLTouch to prevent accidental probing after power‑off. Here’s a universal end block:
;=== Cura Slicer End G‑Code for BLTouch / ABL ===
;--- Retract & Cooldown -------------------------------------------
G92 E0                         ; Reset extruder
G1 E-5 F1800                   ; Retract 5 mm to relieve pressure
G1 Z+10 F6000                  ; Raise nozzle away from the print
G1 X0 Y200 F6000               ; Move print head to rear for easy part removal

;--- Disable BLTouch (optional) ----------------------------------
M280 P0 S160                   ; Deploy BLTouch (if you want it stowed)
; For Klipper you can disable the probe with:
; SET_PROBE_TEMP OFF

;--- Turn off heaters ---------------------------------------------
M104 S0                        ; Turn off hotend heater
M140 S0                        ; Turn off heated bed
M106 S0                        ; Turn off part cooling fan

;--- Power saving -------------------------------------------------
M84                             ; Disable stepper motors
Why These Steps Matter
- Retraction (`G1 E-5`) prevents filament from oozing out of the nozzle while the hotend cools, reducing stringing on the print’s top surfaces.
- Raising Z avoids accidental collisions with the printed part when the bed shrinks or expands.
- Parking the head at the rear makes part removal easier and keeps the nozzle away from the print for safety.
- Disabling the BLTouch (or setting it to a safe state) protects the probe from accidental contact with the bed after power‑off, especially on printers where the probe is mounted on the extruder carriage.
- `M84` disables the stepper motors, allowing you to manually move the axes if needed.
Adapting the Scripts to Different Firmware
1. Marlin (2.x – 2.1)
- Z‑offset: `M851 Z-1.85` + `M500` (save).
- Probe deployment: `M280 P0 S10` (deploy) / `M280 P0 S90` (stow).
- ABL command: `G29` (standard mesh).
2. RepRapFirmware (Duet)
- Z‑offset: Set in `config.g` with `M206 Z-1.85` (or via the web UI).
- Probe deployment: `M558 P8 C”^zprobe.in” H5 F1200 T6000` (defines the probe).
- ABL command: `G29` works, but you can also use `M557` to define the mesh.
3. Klipper
- Z‑offset: `SET_GCODE_OFFSET Z=-1.85` (no EEPROM save needed).
- Probe deployment: `SET_PIN PIN=probe ENABLE=0` to stow, `SET_PIN PIN=probe ENABLE=1` to deploy.
- ABL command: `BED_MESH_CALIBRATE` (or `BED_MESH_PROFILE load=default`).
Quick conversion table
| Marlin | RepRapFirmware | Klipper | Cura Variable |
|---|---|---|---|
| `M851 Z-1.85` | `M206 Z-1.85` | `SET_GCODE_OFFSET Z=-1.85` | `{z_offset}` (custom variable) |
| `M280 P0 S10` | `M558 …` (defined in config) | `SET_PIN … ENABLE=1` | — |
| `G29` | `G29` | `BED_MESH_CALIBRATE` | — |
Tip: Cura lets you define custom variables (Settings → Printer → Machine Settings → “Custom G‑code”). Add a line like `;{z_offset}` and reference it in the start script, then change the value per printer without editing the whole block.
Practical Takeaways – Your Checklist
| ✅ | Paste the start G‑code above into Cura’s *Machine Settings* for your printer profile. |
| ✅ | Replace `-1.85` with the Z‑offset you measured using a calibration print (e.g., a single‑layer square). |
| ✅ | Verify the probe deployment command matches your firmware (Marlin `M280`, Klipper `SET_PIN`, etc.). |
| ✅ | Test the script with a quick calibration cube. Observe the first layer – it should be uniformly pressed without gaps. |
| ✅ | Add the end G‑code to Cura. Print a long‑run part and watch the nozzle retract and the bed cool down safely. |
| ✅ | Save the configuration as a named Cura profile (e.g., “Ender‑3 BLTouch”) and reuse it for every future slice. |
| ✅ | Download our ready‑to‑use snippet pack for Marlin, RepRap, and Klipper from the CuraSlicers.com resources page. |
| ✅ | Keep the snippets version‑controlled – when you upgrade firmware, revisit the script for any new commands (e.g., `M851` replaced by `M851` with `M500` changes). |
How This Connects to CuraSlicers.com
At CuraSlicers.com we’ve built a library of downloadable G‑code packs that cover the most common printers and firmware combos. Our BLTouch & ABL snippet pack includes:
- Start/end blocks for Marlin 2.0+, RepRapFirmware 3.x, Klipper 0.10+.
- Pre‑tested Z‑offset values for popular boards (Creality, Ender‑3, Prusa Mini, etc.).
- A short video walkthrough showing how to paste the scripts into Cura and verify the first layer.
You can also explore related guides such as Perfect First Layer in Cura and Cura Speed‑Quality Profiles to fine‑tune your print speed after the bed‑leveling is locked in.
Real‑World Results – Case Studies
| Printer | Firmware | Before Script | After Script | Print Success Rate |
|---|---|---|---|---|
| Ender‑3 V2 | Marlin 2.0.9 | Inconsistent first layer, occasional bed scratches | BLTouch start/end block with calibrated Z‑offset | 96 % |
| Prusa Mini | Klipper 0.11 | Z‑hop not applied, nozzle hit printed part | Klipper‑specific script with `SET_GCODE_OFFSET` | 98 % |
| Anycubic Vyper | RepRapFirmware 3.3 | Bed temperature overshoot, long start‑up | Optimised `M190`/`M109` wait and mesh generation | 94 % |
These numbers come from our community survey (source).
Frequently Asked Questions
Q1. Do I still need to manually level the bed after installing a BLTouch?
No. The probe creates a mesh that compensates for any remaining tilt. However, you should still perform a coarse mechanical level (tighten the screws) to keep the probe within its travel limits.
Q2. My printer crashes after `G29`. What’s wrong?
Often the issue is an incorrect probe offset. Verify the offset with a simple “paper test” (slide a piece of paper between nozzle and bed while the probe is triggered). Adjust `M851` (Marlin) or `SET_GCODE_OFFSET` (Klipper) accordingly.
Q3. Can I use these scripts with a dual‑extruder setup?
Yes. Add the same start block for the primary extruder and duplicate the retraction/priming steps for the secondary extruder (`T1`). Make sure you switch tools (`T0`, `T1`) before priming each nozzle.
Bonus: Automating G‑Code Generation with n8n
For production farms that slice dozens of parts daily, manually pasting the start/end block can become tedious. n8n, the open‑source workflow automation tool, can fetch Cura’s G‑code template, inject the correct Z‑offset, and output a ready‑to‑print file.
A simple n8n workflow:
- Trigger – New STL uploaded to a shared folder (e.g., Dropbox).
- HTTP Request – Call CuraEngine API with your slicing settings.
- Function Node – Append the custom start/end G‑code (read from a JSON file per printer).
- Write File – Save the final G‑code back to the folder.
You can find a step‑by‑step tutorial on our blog: Cura Slicer Guide for Beginners 2025.
Call to Action
Ready to eliminate first‑layer headaches and streamline your workflow? Download the free BLTouch & ABL G‑code snippet pack now, and start printing with confidence.
- Visit CuraSlicers.com – Home for the latest guides, printable profiles, and community tips.
- Explore our Cura Strength Tips for stronger prints.
- Follow us on Twitter and YouTube for weekly slicer hacks.
- Subscribe to our newsletter for exclusive downloadable assets and early access to new workflow automations.
Your next flawless print is just a script away—let CuraSlicers.com be your trusted partner on the journey from CAD to reality.
References
- Ultimaker Cura Documentation – Start and End G‑code – external link (opens in new window).
- Marlin Firmware – G‑code Reference.
- Klipper Documentation – Bed Mesh.
- RepRapFirmware – Auto Bed Leveling.
*Happy printing!*