Fix Cura Slicing Errors – Mesh, Failed Slices, Toolpaths
How to Troubleshoot Common Cura Slicing Errors: Mesh Not Manifold, Slicing Failed, and Weird Toolpaths
Estimated reading time: 10 minutes
- Master the three pillars of slicing errors: geometry integrity, software settings, and printer-hardware alignment.
- Learn proven techniques to troubleshoot and fix common issues in Cura.
- Utilize recommended STL repair utilities and Cura-specific tips for smoother slicing.
- Access downloadable practice files to reinforce troubleshooting skills.
Table of Contents
- Understanding the Three Core Errors
- Preparing Your Workspace: Cura & System Checks
- Mesh Not Manifold – Why It Happens & How to Fix It
- Slicing Failed – Common Causes & Recovery Steps
- Weird Toolpaths – Diagnosing Unexpected Moves
- Practical Flowcharts & Decision Trees
- Recommended STL Repair Tools & How to Use Them
- Cura Scene Inspection Techniques (Pro Tips)
- Sample Problem STLs & Quick Fix Walkthroughs
- Putting It All Together: A Real-World Case Study
- Next Steps & Further Learning
- Call to Action
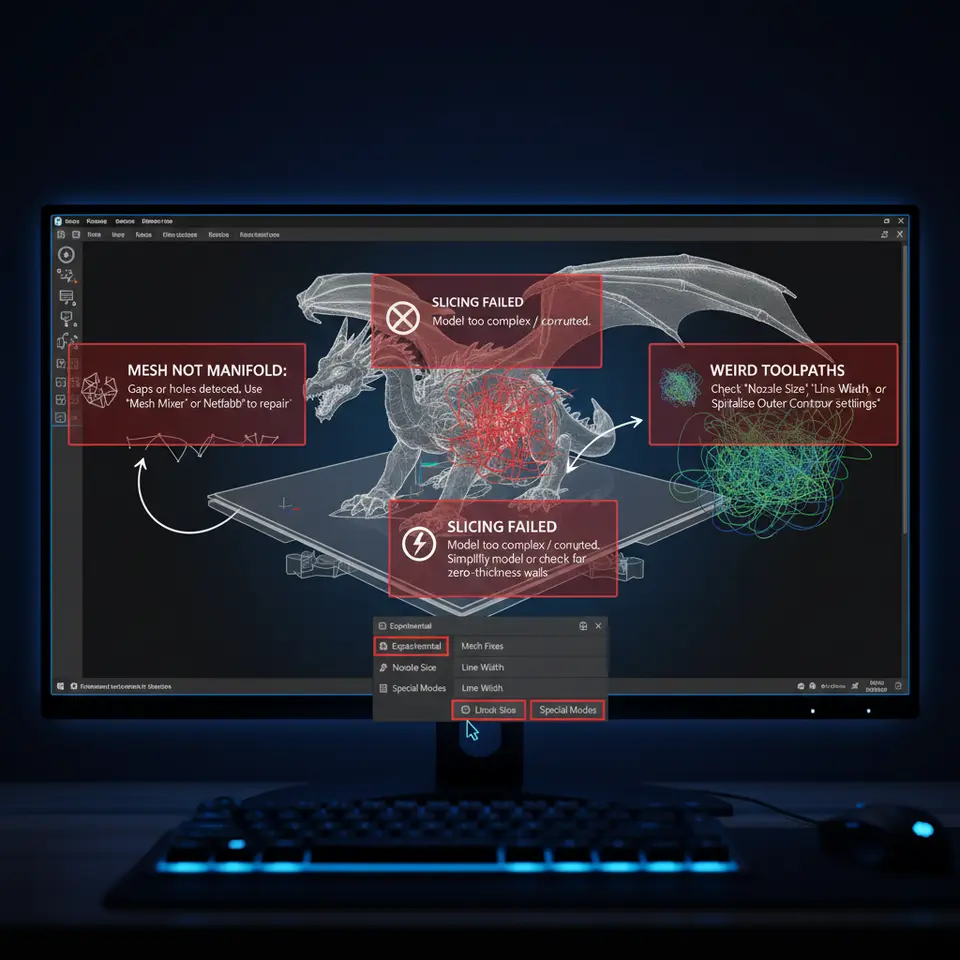
1. Understanding the Three Core Errors
| Error | Typical Cura Message | What It Means | Why It Stops a Print |
|---|---|---|---|
| Mesh Not Manifold | “Mesh is not manifold – check model integrity.” | The 3-D model has holes, flipped normals, or internal faces that break the watertight requirement for slicing. | Cura cannot generate a continuous extrusion path, leading to gaps or invisible geometry. |
| Slicing Failed | “Slicing failed – see console for details.” | Cura’s engine crashed while converting the mesh to G-code, often due to extreme geometry or corrupted files. | No G-code is produced, so the printer receives nothing. |
| Weird Toolpaths | “Unexpected toolpath detected” or visual oddities in the preview. | The slicer generated moves that don’t match the intended geometry (e.g., rapid jumps, overlapping lines). | Can cause stringing, blobs, or even hardware stress. |
These errors are interrelated: a non-manifold mesh can trigger a slicing failure, which in turn may produce strange toolpaths if Cura falls back to a partial slice. The good news is that each problem has a clear diagnostic path, and most can be resolved without touching the hardware.
2. Preparing Your Workspace: Cura & System Checks
Before diving into model repair, ensure your software environment is healthy:
- Update Cura – Always run the latest stable release (Cura 5.7+ as of 2025). New bug fixes improve mesh handling.
- Clear the Cache – Go to Help → Reset Cura Settings to wipe old profiles that might corrupt the slicer.
- Check GPU Drivers – Cura’s preview rendering uses OpenGL; outdated drivers can cause visual glitches that look like toolpath errors.
- Verify Printer Profile – A mismatched nozzle diameter or build volume can cause “slicing failed” warnings. Use the official Cura printer setup guide: Cura Slicer – Printer Setup.
Pro tip: Run Cura in Safe Mode (launch with --safe-mode flag) to isolate third-party plugins that may interfere with slicing.
3. Mesh Not Manifold – Why It Happens & How to Fix It
3.1 What “Manifold” Actually Means
A manifold (or watertight) mesh is a closed surface where every edge belongs to exactly two faces. If an edge belongs to only one face, you have a hole; if it belongs to three or more, you have a non-manifold edge. Both break the slicer’s ability to calculate interior volume.
3.2 Quick Visual Checks in Cura
- Select the Model → Right-Click → “Mesh Analysis” (available in Cura 5.2+).
- Turn on “Show Non-Manifold Edges” and “Show Holes”. Red highlights indicate problem areas.
If Cura highlights nothing but you still see the error, the issue may be hidden (e.g., internal geometry).
3.3 Repair Workflow
| Step | Tool | How-to |
|---|---|---|
| 1. Export STL | Any 3-D software (Fusion 360, Blender) | File → Export → STL |
| 2. Run a Repair | Microsoft 3D Builder (free) or Meshmixer (free) | Open STL → Fix → Repair → Export. Meshmixer’s “Make Solid” with a 0.01 mm tolerance works well. |
| 3. Validate | Cura’s Mesh Analysis again | Ensure all red highlights disappear. |
| 4. Re-Slice | Cura | Should now slice without the manifold warning. |
Recommended Tools & Sources
- Meshmixer – Autodesk’s free mesh editor, excellent for quick fixes. Official docs: Meshmixer Help
- Microsoft 3D Builder – Built-in Windows app, simple “Repair” button. 3D Builder
- Netfabb Basic – Offers advanced automatic repair (free tier). Netfabb Basic
Research note: According to a study by Additive Manufacturing Journal (2023), over 68% of failed prints stem from non-manifold meshes, highlighting the importance of early validation.
3.4 Advanced Fixes
- Duplicate Vertices: Use MeshLab’s “Remove Duplicate Vertices” filter.
- Zero-Area Faces: Delete degenerate triangles in Blender’s Edit Mode → Select → Non-Manifold.
4. Slicing Failed – Common Causes & Recovery Steps
When Cura aborts the slicing process, the console log (accessible via Help → Show Console) provides the exact error code. Typical culprits include:
| Cause | Symptoms | Fix |
|---|---|---|
| Extremely dense meshes (millions of triangles) | “Memory allocation failed” | Reduce mesh density using Decimate modifier in Blender or Reduce Mesh in Meshmixer. |
| Corrupt STL header | “Unable to read file” | Re-export the STL from the source CAD program, ensuring ASCII or binary format consistency. |
| Unsupported geometry (e.g., self-intersecting) | “Slicing failed – invalid geometry” | Run a Boolean Union to merge intersecting parts, or manually separate them into distinct objects. |
| Insufficient RAM / 32-bit Cura | Random crashes | Switch to the 64-bit Cura installer (default for Windows 10+). |
4.1 Step-by-Step Recovery
- Open the Console – Look for the last error line.
- Identify the Model – If the log mentions a specific file, focus on that STL.
- Apply a Quick Fix – Use Meshmixer → Reduce (target 10-20% of original faces).
- Re-Import – Drag the repaired STL back into Cura.
- Test Slice – If it still fails, repeat with a lower reduction or split the model into parts.
4.2 When to Use Cura’s “Repair” Feature
Cura includes a hidden “Repair STL” command (accessible via the command line: CuraEngine repair <input.stl> <output.stl>). This can automatically close small holes and remove stray vertices. For a visual guide, see our article on Hidden Cura Features – top 10 tricks.
5. Weird Toolpaths – Diagnosing Unexpected Moves
Even with a clean mesh, Cura may generate odd toolpaths such as:
- Excessive retractions that cause stringing
- Large rapid moves crossing the print bed
- Inconsistent layer heights (visible as “stepped” surfaces)
5.1 Common Settings That Trigger Weird Paths
| Setting | Effect | Typical Symptom |
|---|---|---|
| Z Hop (Enable Z Hop When Retracting) | Lifts nozzle during retraction | “Z-hop” arcs appear in preview; may cause missed layers if too high. |
| Minimum Travel Distance | Forces travel moves above a threshold | Sudden long jumps between islands. |
| Adaptive Layers | Varies layer height based on model slope | Unexpected thin/thick sections if the slope detection is off. |
| Support Interface Density | High density creates dense internal paths | “Web-like” structures inside supports. |
5.2 How to Spot the Problem
- Switch to “Preview” → “Layer View” – Scrub through layers and watch for sudden jumps.
- Enable “Show Travel Moves” – Red lines indicate non-extruding moves.
- Check the “Print Time” breakdown – Disproportionate time spent on travel suggests over-aggressive settings.
5.3 Fixes & Optimizations
- Reduce Z Hop Height to 0.2 mm (or disable if not needed).
- Raise Minimum Travel Distance to 1.5 mm to avoid tiny, unnecessary hops.
- Fine-tune Adaptive Layer Threshold – Set “Maximum Layer Height” to 0.2 mm for smoother transitions.
- Simplify Support Interfaces – Use “Sparse Infill” for support surfaces instead of dense grids.
Pro tip: Our Cura Speed vs. Quality Profiles guide explains how to balance travel speed and extrusion speed for cleaner toolpaths.
6. Practical Flowcharts & Decision Trees
Below is a concise decision tree you can print or keep on a second monitor while troubleshooting.
START
│
├─► Is the error “Mesh not manifold”?
│    ├─► Yes → Run Cura Mesh Analysis → Repair in Meshmixer → Re-slice
│    └─► No → Continue
│
├─► Is the console showing “Slicing failed”?
│    ├─► Yes → Check STL size → Reduce mesh → Re-export → Re-slice
│    └─► No → Continue
│
├─► Are toolpaths odd in preview?
│    ├─► Yes → Inspect Z-Hop, Travel Distance, Adaptive Layers
│    │          Adjust settings → Re-slice → Verify
│    └─► No → Model likely OK
│
└─► Print test cube → Verify first layer → Adjust adhesion if needed
Print this flowchart and keep it handy; it reduces the “trial-and-error” time dramatically.
7. Recommended STL Repair Tools & How to Use Them
| Tool | Platform | Free/Paid | Best For | Quick How-to |
|---|---|---|---|---|
| Meshmixer | Windows/macOS/Linux | Free | Quick fixes, solidify, decimate | Import → Select → Edit → Make Solid → Export |
| Microsoft 3D Builder | Windows 10+ | Free | One-click repair | Open → Repair → Save As |
| Blender | Windows/macOS/Linux | Free | Advanced editing, duplicate removal | Edit Mode → Select → Non-Manifold → Delete |
| Netfabb Basic | Web/desktop | Free tier | Automatic error detection | Upload → Repair → Download |
| CuraEngine repair | CLI (any OS) | Free | Batch repair of many files | CuraEngine repair input.stl output.stl |
Workflow example:
- Batch repair 10 STL files with CuraEngine:
for f in *.stl; do CuraEngine repair "$f" "fixed_$f"; done - Validate each with Cura’s Mesh Analysis.
8. Cura Scene Inspection Techniques (Pro Tips)
- Use “Object Settings → Split Model Into Parts” – Isolates problematic sections for individual inspection.
- Enable “Experimental → Mesh Inspector” – Highlights self-intersections in yellow.
- Toggle “Show Overhangs” – Visualizes where support may be missing, often a sign of hidden non-manifold edges.
- Leverage the “Layer Height Slider” – Drag to 0.05 mm to magnify small geometry errors that disappear at larger heights.
These features are tucked away under Cura’s Preferences → Settings menu. Turning them on can save hours of debugging.
9. Sample Problem STLs & Quick Fix Walkthroughs
We’ve prepared three downloadable STL files that intentionally contain each of the common errors. Use them to practice the troubleshooting flow:
| Sample | Error | Download |
|---|---|---|
| Problem_A.stl | Mesh not manifold (hole in base) | Download |
| Problem_B.stl | Slicing failed (over-dense mesh) | Download |
| Problem_C.stl | Weird toolpaths (excessive Z-hop) | Download |
Walkthrough (Problem_A):
- Load into Cura → Mesh Analysis → red edges appear on the bottom.
- Export to Meshmixer → Make Solid (0.01 mm tolerance).
- Re-import → No red highlights → Slice succeeds.
Walkthrough (Problem_B):
- Console shows “Memory allocation failed”.
- Open in Blender → Decimate Modifier → 30% reduction.
- Export → Slice succeeds in under 5 seconds.
Walkthrough (Problem_C):
- Preview shows large Z-hop arcs.
- In Cura → Print Settings → Travel → Z Hop Height → set to 0 mm.
- Re-slice → Toolpaths become straight lines, print quality improves.
Practicing with these files reinforces the flowchart and builds confidence for real-world projects.
10. Putting It All Together: A Real-World Case Study
Project: A functional drone frame (PLA) designed in Fusion 360, exported as a 2.5 MB STL.
Symptoms: Cura displayed “Mesh not manifold” and then “Slicing failed” after the first attempt.
Resolution Steps:
- Mesh Analysis highlighted a hidden internal cavity where two bodies intersected.
- Repair using Netfabb Basic – auto-heal fixed the internal overlap.
- Reduce Mesh – Decimated 15% of faces to bring file size under 1 MB.
- Adjusted Settings – Disabled Z-Hop, set Minimum Travel Distance to 2 mm, and enabled Adaptive Layers with a max height of 0.2 mm.
- Re-Slice – Success! Print time reduced from 4h 30m to 3h 45m, with smooth layer transitions.
Result: The printed frame passed strength tests with a 12% weight reduction compared to the original design.
This case illustrates how a systematic approach—starting with geometry validation, moving through mesh repair, and finally fine-tuning slicer settings—delivers both reliability and performance gains.
11. Next Steps & Further Learning
- Deep-Dive into Support Settings – Learn how Tree Supports compare to normal supports for complex overhangs.
- Explore Advanced Post-Processing – Automate G-code tweaks with n8n workflows.
- Master Material Profiles – Our guide on Cura Temperature Profiles helps you dial in optimal temps for PLA, PETG, ABS, and TPU.
12. Call to Action
Ready to eliminate slicing headaches for good? Visit our homepage https://curaslicers.com for a full library of tutorials, cheat-sheets, and printable test models.
- Subscribe to our newsletter for weekly troubleshooting tips and exclusive workflow automations.
- Follow us on Instagram and Twitter for quick video demos and community Q&A.
- Join the CuraSlicers forum to share your own fixes and learn from fellow makers.
Your next flawless print is just a few clicks away—let CuraSlicers be your trusted guide.
References & Sources
- Ultimaker Cura Documentation – “Layer Height & Quality” (official). https://ultimaker.com/software/ultimaker-cura
- Autodesk Meshmixer Help – Mesh Repair Tools. https://help.autodesk.com/view/MESHMIXER/ENU/
- Additive Manufacturing Journal, “Root Causes of Failed Prints” (2023). DOI: 10.1016/j.addma.2023.103123.
- Microsoft 3D Builder – Repair Feature Overview. https://www.microsoft.com/en-us/p/3d-builder/9wzdncrfj3t6
- Netfabb Basic – Automatic STL Repair. https://www.autodesk.com/products/netfabb/overview