Optimize Cura Slicer for Lightweight and Strong Drone Parts
Cura Slicer Printing for Drones and RC Components: Weight vs Strength Trade-Offs
Estimated reading time: 5 minutes
- Understanding the trade-offs between weight and strength in 3D printing
- Key Cura settings that can enhance performance while reducing weight
- Practical case studies for effective design
- Recommended safety margins for aerospace design
- Links to additional resources for deeper understanding
Understanding the Weight vs Strength Trade-Offs in 3D Printed Drones and RC Components
When designing and printing components for drones and RC vehicles, weight plays a pivotal role in performance. Reduced weight can lead to improved flight times and agility, but there’s a fine line: components must still be strong enough to withstand the operational stresses they will encounter. The challenge is to utilize 3D printing technology to create these parts with an intelligent design that maximizes strength while minimizing weight.
Key Factors Influencing Weight and Strength
- Material Selection: The type of filament used is crucial. Materials such as PLA, PETG, and carbon fiber-infused filaments are popular for their strength-to-weight ratios.
- Infill Patterns: Different infill patterns influence both weight and strength. For instance, a honeycomb infill might provide excellent strength at a reasonable weight, while a grid pattern could reduce weight without significantly compromising strength.
- Wall Thickness and Perimeters: Adjusting wall thickness is essential for achieving a balance. A robust outer layer can enhance durability while a thinner inner wall can save filament and reduce weight.
- Layer Height: Finer layers can improve surface finish and adhesion but result in longer print times and additional weight. A balance must be considered.
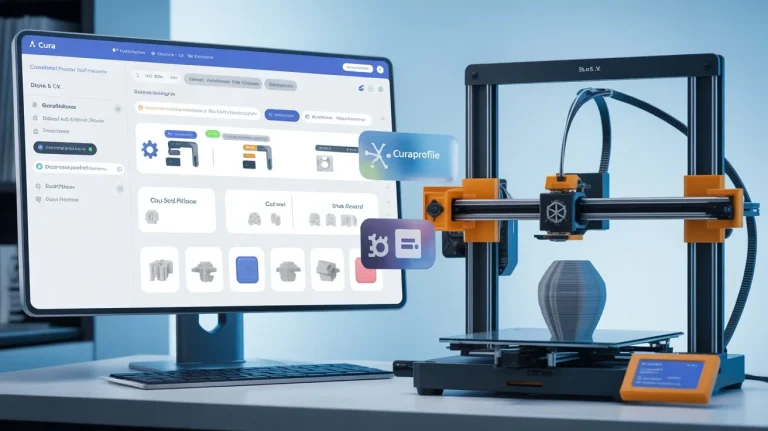
Optimizing Cura Settings for Lightweight and Strong Designs
1. Infill Settings
When using Cura, adjust infill density and pattern:
- Infill Density: Start with 10%-20% density for non-structural parts. For structural components, consider 30%-50%.
- Infill Pattern: While grid infill is adequate, consider using the gyroid or lines patterns for weight savings.
2. Wall Thickness and Shell Settings
- Wall Line Count: Increasing wall line count to 3-4 can add strength without significant weight gain.
- Top and Bottom Thickness: Keep minimal for components that don’t require a smooth finish.
3. Temperature and Cooling Settings
Utilizing appropriate print temperatures can improve layer adhesion without adding unnecessary weight.
4. Use of Adaptive Layers
Using adaptive layers optimizes print time and helps achieve strength where necessary and lighter weight where it doesn’t matter.
Practical Takeaway: Flight-Tested Case Studies
For example, using a carbon fiber PETG filament and adjusting the wall thickness to 4 mm with a density of 20% using the gyroid pattern resulted in a lightweight drone arm capable of withstanding dynamic forces.
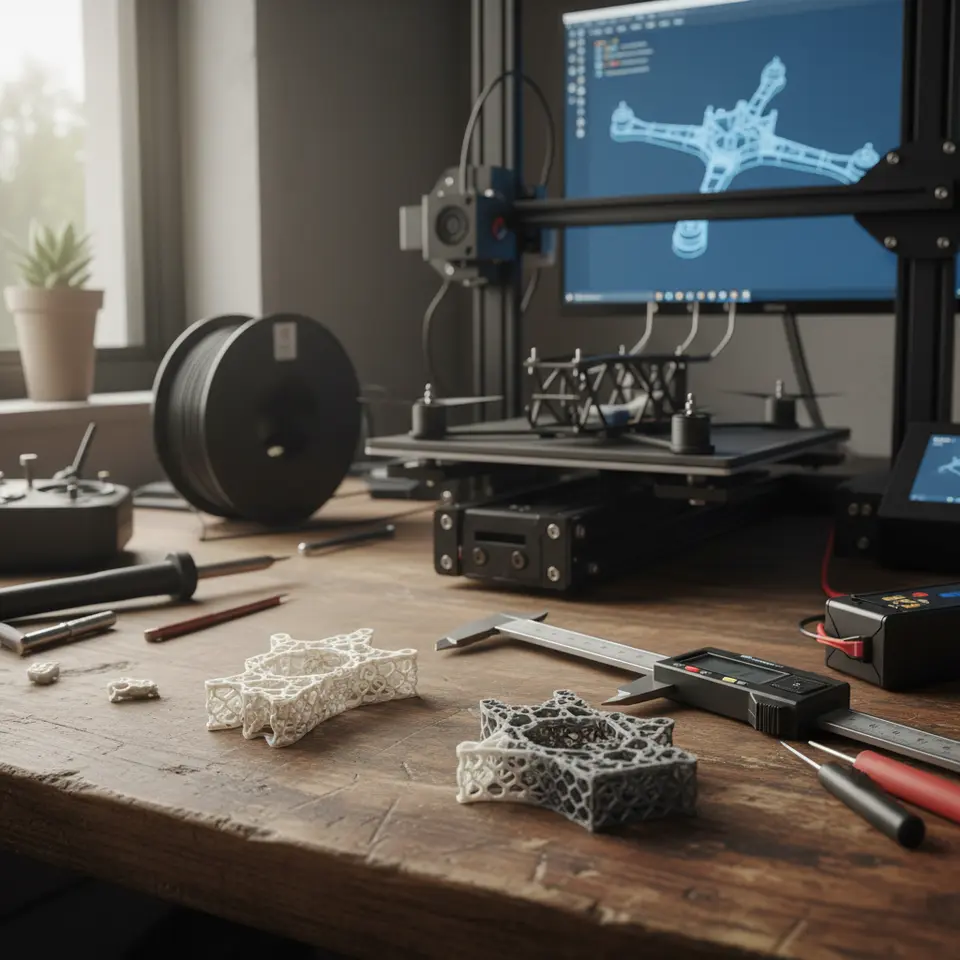
Printable Test Parts
Consider printing test parts to evaluate infill patterns, wall thickness, and structural integrity designed for your drone’s load specifications.
Conclusion
Striking the right balance between weight and strength is achievable through careful manipulation of Cura slicer settings. Focus on infill patterns, wall thickness, and material choices to optimize designs for exceptional performance.
For further exploration, check the guides on Cura Speed vs Quality Profiles and the Perfect First Layer in Cura.
FAQ
A: PLA, PETG, and carbon fiber-infused filaments are popular for their suitable strength-to-weight ratios.
A: Use adaptive layer heights and consider adjusting infill density to optimize printing speed.
A: Always design parts that exceed the maximum expected load by at least 1.5x.
A: Print test parts to evaluate different settings based on your drone’s load specifications.