Fine-Tune Your Flow Rate in Cura for Perfect Prints
How to Tune Flow Rate for Under/Over Extrusion Issues in Cura Using Flow Calibration Prints
Estimated Reading Time: 6 minutes
- Learn how to adjust flow rate settings for optimal 3D print quality.
- Discover the significance of the extrusion multiplier in your prints.
- Gain insights into troubleshooting common extrusion problems.
- Utilize downloadable resources to streamline your calibration process.
- Enhance your overall 3D printing workflow for better results.
Table of Contents
- Understanding Flow Rate and its Importance
- Preparing for Flow Calibration
- Slicing the Calibration Model in Cura
- Running the Calibration Print
- Analyzing the Calibration Results
- Setting the Extrusion Multiplier
- Troubleshooting Intermittent Under/Over Extrusion
- Downloadable Calibration Workbook
- The Connection to Efficient 3D Printing Workflows
- Conclusion
Understanding Flow Rate and its Importance
In 3D printing, the flow rate determines how much filament is pushed through the nozzle during printing. If this rate is set incorrectly, it can lead to various issues:
- Under-extrusion: results in weak prints with gaps and defects. This often leads to layers not adhering properly, causing structural weaknesses.
- Over-extrusion: leads to blobby prints with excessive filament, which can negatively affect detail and precision.
Correctly tuning the flow rate is critical for both the quality of the print and the longevity of your 3D printer. The process begins with flow calibration prints.
Preparing for Flow Calibration
Before we dive into the calibration process, ensure you have the following:
- A compatible 3D printer and filament.
- Ultimaker Cura slicer software installed (you can download it from Ultimaker’s website).
- A flow calibration test model, which can often be found in 3D model repositories like Thingiverse or GrabCAD. You can also create your own calibration print design.
Selecting the Right Calibration Model
A well-designed calibration model typically includes different sections or patterns to help you visualize the effects of flow variations. If you prefer, you can download a ready-made flow calibration model from our resources section on CuraSlicers.com.
Slicing the Calibration Model in Cura
- Open Ultimaker Cura and load your chosen calibration model.
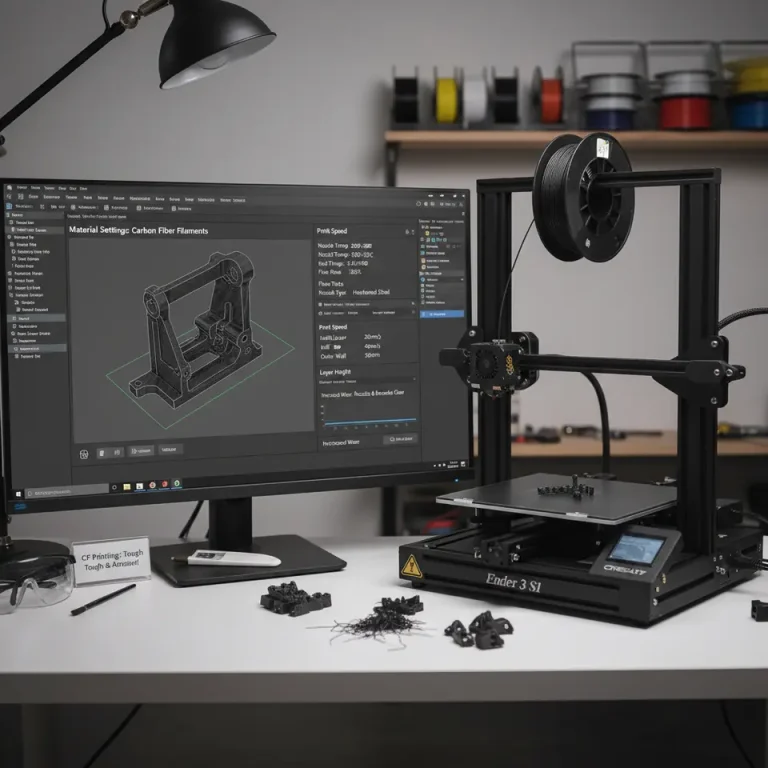
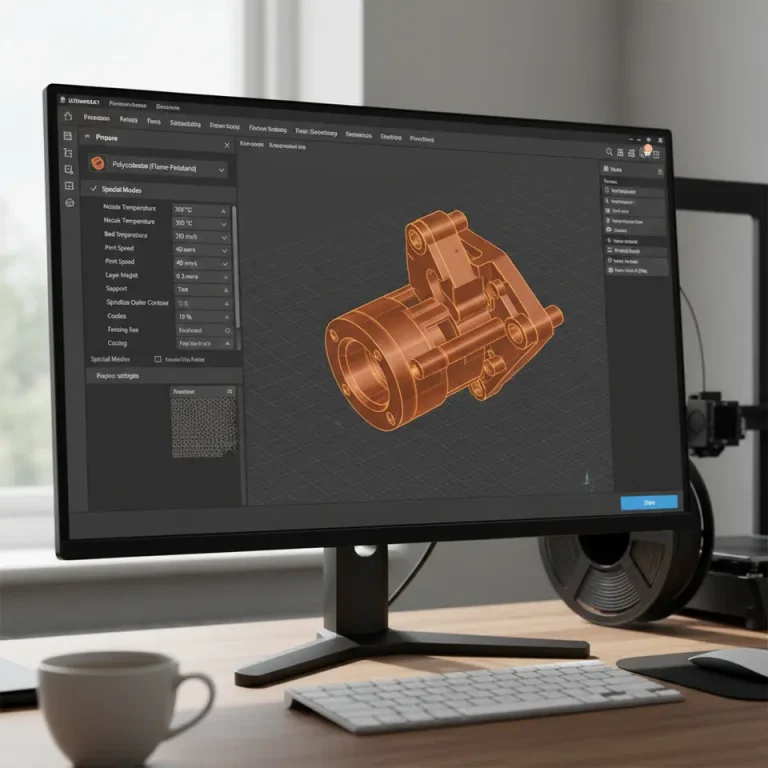
- Set Up Printer Settings: Make sure to configure the printer settings as per your filament’s requirements – including temperature and nozzle size.
- Adjust the Flow Rate: Initially, set the extrusion multiplier to 1.0, which is the default setting.
Slicing Parameters to Consider
- Layer Height: Start with a standard layer height of around 0.2mm.
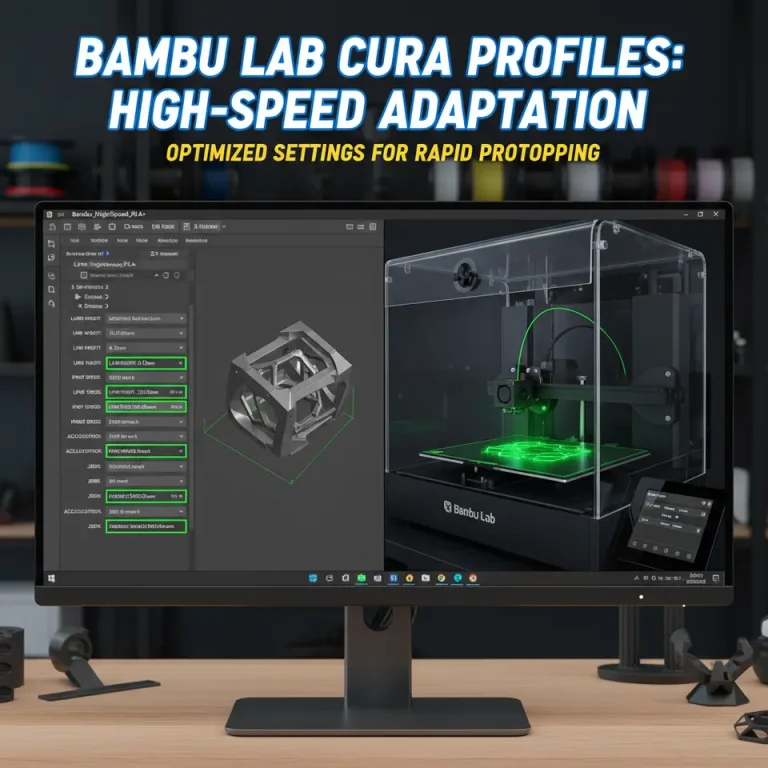
- Print Speed: Set a moderate speed to balance print quality with efficiency (e.g., 50mm/s).
- Infill Density: Typically set to 100% for calibration to get a reliable reading on the flow rate.
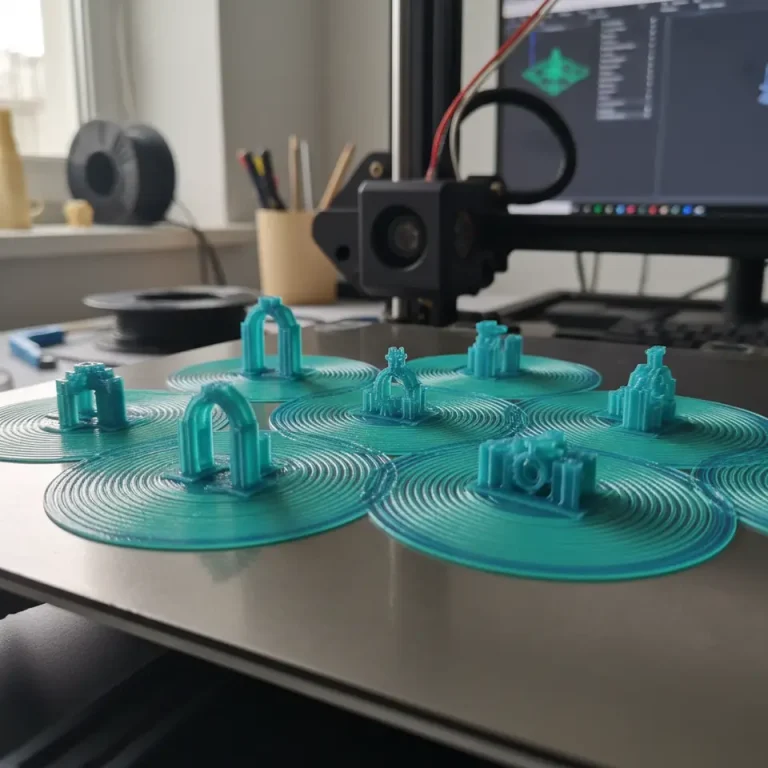
Running the Calibration Print
Once you have configured the settings in Cura, start your print. Watch the calibration process carefully. You should pay attention to:
- Layer adhesion
- Surface texture
- Overall accuracy
Analyzing the Calibration Results
After the calibration print completes, it’s time to evaluate the results.
- Inspect the Layers: Look for consistent, solid layers without gaps or over-extrusion artifacts.
- Check for Overhangs and Bridges: If there are sagging or inconsistently filled overhangs, this might indicate issues with flow settings.
- Measure the Filament Thickness: Usually, you can do this visually, but using calipers will give you a more precise measure.
Once you analyze the results, you can make adjustments to the extrusion multiplier.
Setting the Extrusion Multiplier
- If you observe under-extrusion (incomplete or weak layers), gradually increase the extrusion multiplier (e.g., by 0.05 at a time).
- For over-extrusion (bulging or excess filament), decrease the multiplier (e.g., by 0.05 at a time).
Troubleshooting Intermittent Under/Over Extrusion
Intermittent flow issues can sometimes occur. Here are some tips for troubleshooting:
- Filament Quality: Inconsistent filament can be a common cause of under or over-extrusion. Always use high-quality, well-stored materials.
- Hotend Clogs: If you encounter sudden changes in flow, check for clogs in the hotend, which can affect filament feeding.
- Temperature Fluctuations: Ensure your extrusion temperature is stable. Refer to our guide on Cura Temperature Profiles for more detailed insights.
Downloadable Calibration Workbook
To assist you further, we’ve created a downloadable workbook that will help you track your calibration process. This workbook allows you to log results and adjust settings systematically. Download the Flow Calibration Workbook here.
The Connection to Efficient 3D Printing Workflows
Optimizing your flow rate is just one aspect of creating an efficient 3D printing workflow. Other elements include:
- Support Settings: Proper support structures can significantly impact print success. Check out our article on Cura Support Settings for more detailed tips.
- Speed vs. Quality: Striking the right balance can optimize both time and output quality. Explore our guide on Cura Speed Quality Profiles for insights into balancing these two critical factors.
Conclusion
Tuning the flow rate in Cura is an essential skill for anyone serious about 3D printing. By performing flow calibration prints and understanding how to analyze and adjust your extrusion settings, you can drastically improve print quality and material efficiency. Remember, every filament behaves differently, and calibration is a key step in achieving the best results.
For more tutorials and guides like this one, explore our linked articles or visit CuraSlicers.com to stay updated on the latest in 3D printing technology. Don’t forget to follow us on social media and subscribe for future guides to keep your 3D printing journey smooth and efficient!
FAQ
What is flow rate in 3D printing?
The flow rate in 3D printing refers to the volume of filament that is extruded through the nozzle during the printing process.
How do I know if I have under or over-extrusion?
You can identify under-extrusion by looking for gaps or weak layers, while over-extrusion often presents as excess filament or blob formations.
Can I use any filament for flow calibration?
It’s recommended to use high-quality, consistent filament specific to your printer to achieve the best calibration results.