Cura Adaptive Layers for Faster, Higher-Quality Prints
Cura’s Adaptive Layers: When and How to Use It – The Ultimate Guide for Faster, Higher‑Quality 3D Prints
Estimated reading time: 8 minutes
- Understand the benefits of Cura’s Adaptive Layers for improving print quality and speed.
- Learn when to use and when to skip Adaptive Layers for optimal results.
- Step-by-step guide on enabling and fine-tuning Adaptive Layers in Ultimaker Cura.
- Get actionable tips and common pitfalls to avoid for successful 3D printing.
- Explore frequently asked questions and troubleshoot common issues related to Adaptive Layers.
Table of Contents
- Introduction – Why Adaptive Layers Matter
- Understanding Cura’s Adaptive Layers
- When to Use Adaptive Layers
- How to Enable Adaptive Layers in Cura
- Fine-Tuning Adaptive Layers for Specific Materials
- Practical Takeaways – 7 Actionable Tips
- Real-World Example: Reducing Print Time on a Detailed Miniature
- Common Pitfalls & How to Fix Them
- Integrating Adaptive Layers into an Automated Workflow (n8n Example)
- Frequently Asked Questions (FAQ)
- Call to Action
- Sources
Introduction – Why Adaptive Layers Matter
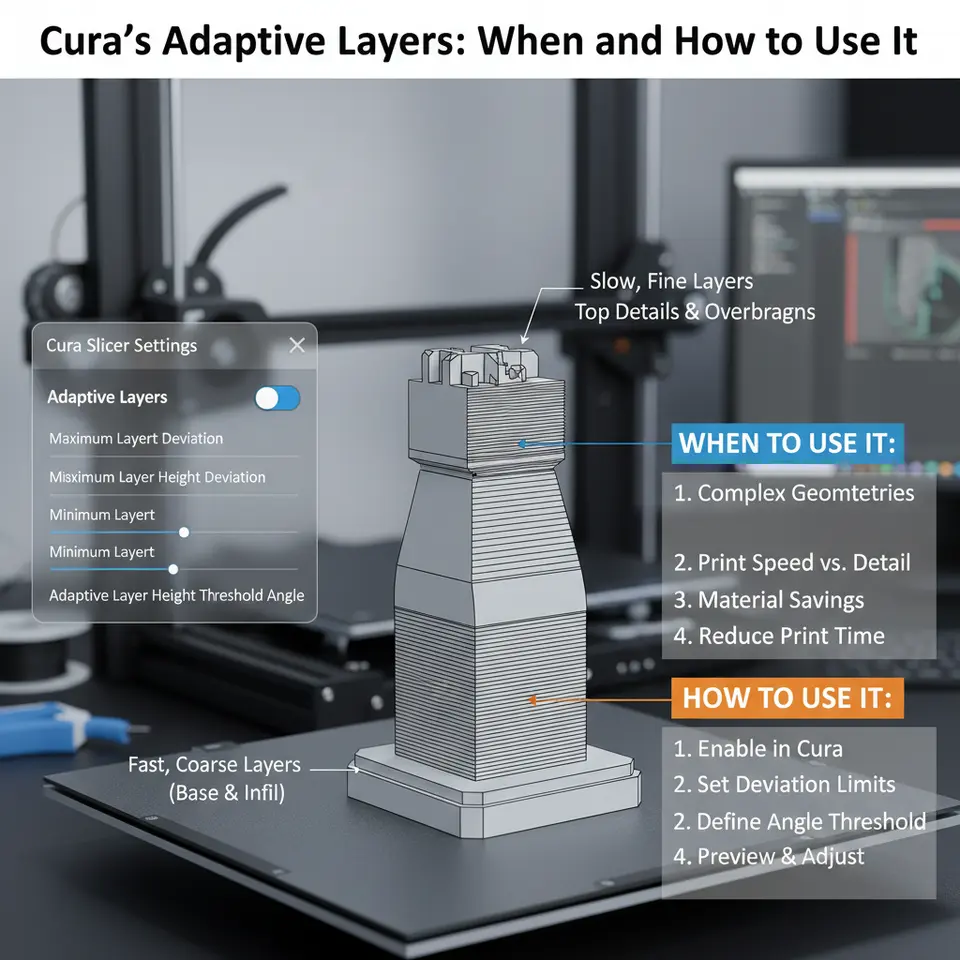
If you’ve ever struggled to balance print speed with surface detail, you’ve probably wished for a slicer that could “think” for you. Cura’s Adaptive Layers: When and How to Use It is the answer. This powerful feature automatically varies layer thickness across a single model, giving you fine resolution where it counts and thicker layers where it doesn’t—saving time without sacrificing quality. In this guide, we’ll explore the science behind adaptive slicing, show you step‑by‑step how to enable and fine‑tune it in Ultimaker Cura, and reveal the exact print scenarios where it shines. By the end, you’ll be able to cut print times by up to 30 % on complex parts while keeping crisp details where they matter most.
“Adaptive layers let Cura act like a skilled artisan, carving delicate features with thin slices and sweeping larger volumes with thick layers.” – CuraSlicers.com
Let’s dive in.
Understanding Cura’s Adaptive Layers
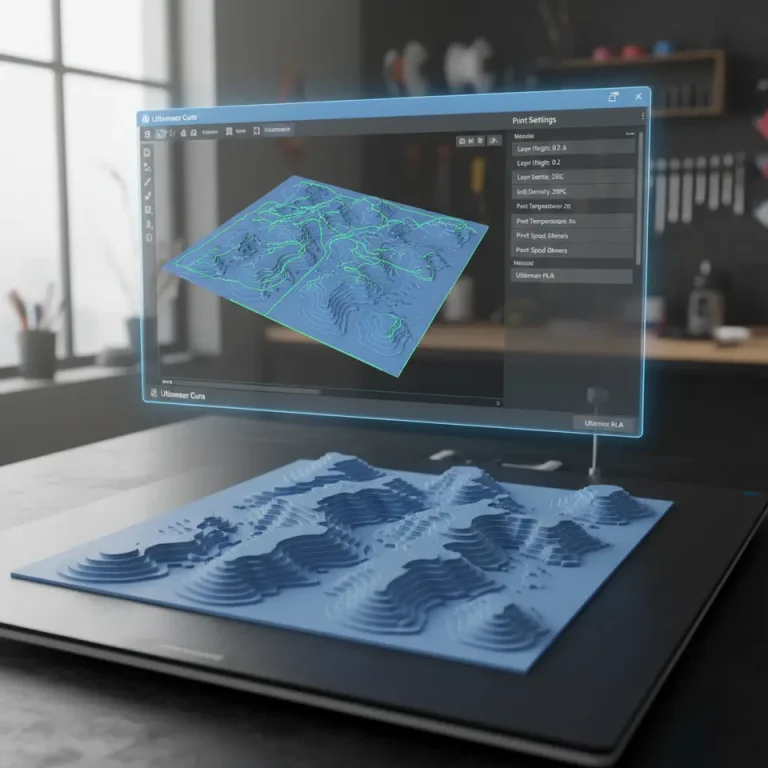
Cura’s Adaptive Layers (sometimes called “Variable Layer Height”) is a dynamic slicing algorithm introduced in Cura 4.8 and refined through the 5.x series. Rather than using a single, static layer height for the whole model, Cura analyses the geometry and automatically assigns a custom layer thickness to each region based on curvature, surface angle, and user‑defined quality thresholds.
How the Algorithm Works
- Geometry Analysis – Cura computes the angle between each surface facet and the build plate. Steeper angles (overhangs, fine details) are flagged for higher resolution.
- Curvature Detection – Areas with high curvature (small radii, intricate patterns) trigger thinner layers.
- User‑Defined Bounds – You set a minimum and maximum layer height (e.g., 0.06 mm – 0.30 mm). Cura never goes below or above these limits.
- Transition Smoothing – To avoid sudden jumps that could cause Z‑seam artifacts, Cura interpolates layer heights gradually between adjacent zones.
The result is a single G‑code file that contains a smooth gradient of layer heights, automatically optimized for the model’s shape.
Benefits at a Glance
| Benefit | What It Means for You |
|---|---|
| Reduced Print Time | Thick layers on low‑detail sections cut the number of passes dramatically. |
| Improved Surface Quality | Thin layers on steep or detailed zones preserve crisp edges and reduce stair‑stepping. |
| Material Savings | Fewer layers in bulk areas mean less extrusion overall, especially on large prints. |
| Simplified Workflow | No need to manually split a model and assign separate profiles; Cura does it in one click. |
When to Use Adaptive Layers
Adaptive Layers aren’t a universal silver bullet. Knowing when they add value is key to avoiding wasted time or unexpected artifacts.
Ideal Use-Cases
| Scenario | Why Adaptive Layers Help |
|---|---|
| Miniatures & Figurines | Fine facial features and tiny ornaments benefit from ultra‑thin layers, while the torso can be printed faster with thicker slices. |
| Functional Parts with Mixed Geometry (e.g., a bracket with a smooth base and a complex gear) | The gear teeth get high resolution, the base prints quickly. |
| Large Decorative Objects (vases, wall art) | Curved surfaces get smooth finishes, flat walls stay fast. |
| Prototyping with Variable Detail | When you need a quick visual mock‑up but still require high‑detail sections for fit testing. |
When to Skip Adaptive Layers
| Situation | Reason |
|---|---|
| Purely Functional Parts with Uniform Geometry (e.g., a solid cylinder) | No curvature variation → no benefit, just added slicing complexity. |
| Very Small Layer Height Limits (e.g., <0.04 mm) on a printer that struggles with fine layers | You’ll get slower prints without noticeable quality gain. |
| Materials Sensitive to Rapid Height Changes | Some flexible TPU blends – abrupt thickness shifts can cause inconsistent extrusion. |
How to Enable Adaptive Layers in Cura
Below is a step‑by‑step walkthrough for Cura 5.x (the process is similar in Cura 4.8).
- Open Cura and Load Your Model – Drag‑and‑drop the STL/OBJ file onto the build plate.
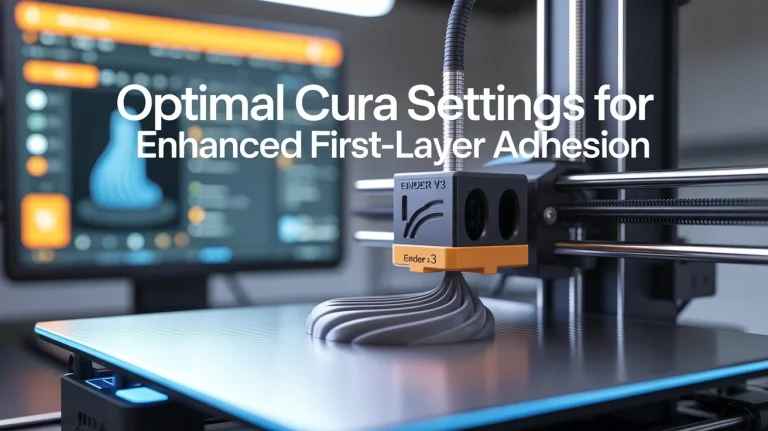
- Select Your Printer Profile – Choose the correct printer (e.g., Ender 3 V3, Prusa MK3, etc.).
- Switch to “Custom” Settings – Click the Custom button at the top‑right of the settings panel.
- Find “Adaptive Layers” – In the search bar type adaptive or navigate to Shell → Adaptive Layers.
- Activate the Feature – Tick the checkbox Enable Adaptive Layers.
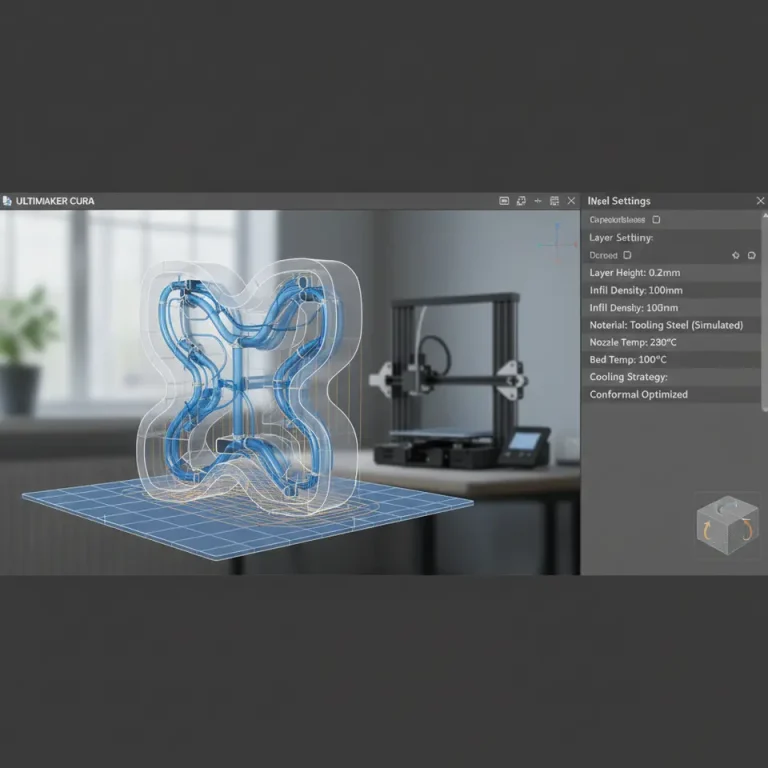
- Set Minimum & Maximum Layer Heights –
- Minimum: 0.06 mm (good for fine detail)
- Maximum: 0.30 mm (fast bulk fill)
Adjust based on your printer’s capabilities and the material you’re using.
- Define “Detail Threshold” – This slider controls how aggressively Cura treats curvature as “detail”. A value of 0.5 mm is a safe default for most hobbyist printers.
- Optional – Add a “Transition Smoothing” Value – A higher value smooths the height change but may reduce the sharpness of the transition. Start with 2 mm.
- Slice and Preview – Click Slice. Use the Layer View (the “stacked layers” icon) to scroll through the model and see where Cura applied thin or thick layers.
- Save G‑code and Print – Export the file to your SD card or send it directly via OctoPrint.
Pro Tip: For PLA, keep the minimum at 0.06 mm and max at 0.20 mm to avoid overheating thin layers. For PETG, a max of 0.25 mm works well because the material tolerates slightly thicker layers without oozing.
Fine-Tuning Adaptive Layers for Specific Materials
Below we break down optimal settings for the three most common filament families.
1. PLA – Fast, High‑Detail Prints
| Setting | Recommended Value |
|---|---|
| Minimum Layer Height | 0.06 mm |
| Maximum Layer Height | 0.20 mm |
| Detail Threshold | 0.45 mm |
| Transition Smoothing | 1.5 mm |
| Print Speed (overall) | 60 mm/s (thin zones) – 80 mm/s (thick zones) |
| Cooling Fan | 100 % after first layer |
Why? PLA solidifies quickly, so thin layers won’t sag. The tighter max height prevents visible stepping on flat surfaces.
2. PETG – Strong, Slightly Flexible
| Setting | Recommended Value |
|---|---|
| Minimum Layer Height | 0.08 mm |
| Maximum Layer Height | 0.25 mm |
| Detail Threshold | 0.55 mm |
| Transition Smoothing | 2 mm |
| Print Speed | 45 mm/s (thin) – 70 mm/s (thick) |
| Cooling Fan | 30 % (helps with stringing) |
PETG tends to ooze; a slightly larger minimum height reduces the number of thin layers where oozing could accumulate.
3. TPU – Flexible, Needs Careful Extrusion
| Setting | Recommended Value |
|---|---|
| Minimum Layer Height | 0.10 mm |
| Maximum Layer Height | 0.30 mm |
| Detail Threshold | 0.70 mm |
| Transition Smoothing | 3 mm |
| Print Speed | 30 mm/s (thin) – 50 mm/s (thick) |
| Cooling Fan | Off or 10 % (TPU prints better with little cooling) |
Flexible filaments can struggle with rapid height changes, so a higher transition smoothing value eases the extrusion pressure fluctuations. For an in-depth TPU workflow, see our Cura TPU Optimization Guide.
Practical Takeaways – 7 Actionable Tips
- Start with a 0.06 mm – 0.30 mm range for most hobbyist printers; adjust after a test print.
- Use the Layer View to verify that critical features (logo, text, gear teeth) are receiving the thin layers you expect.
- Combine Adaptive Layers with “Z-hop” (Enable Z-hop when re‑tracting) to reduce scratching on delicate surfaces.
- Pair Adaptive Layers with a “Wall Thickness” of 1.2 mm (or 2 perimeters) to keep strength consistent across variable heights.
- Enable “Print Speed – Adaptive” (found under Speed → Adaptive) so Cura automatically slows down for thin layers, preventing under‑extrusion.
- Calibrate your Extruder Flow Rate after enabling adaptive slicing – the varying layer heights can expose hidden flow errors. Our Cura Flow Rate & Line Width Guide walks you through it.
- Document Your Settings in Cura’s “Custom Profiles” (e.g., Adaptive‑PLA‑V3) so you can reuse the exact configuration on future prints.
Real‑World Example: Reducing Print Time on a Detailed Miniature
Model: 45 mm tall fantasy figurine with a highly detailed face and a simple cylindrical base.
| Parameter | Fixed 0.12 mm Layer Height | Adaptive 0.06 – 0.30 mm |
|---|---|---|
| Total Layer Count | 375 | 260 |
| Print Time (estimated) | 5 h 12 min | 3 h 45 min |
| Surface Detail (Face) | Visible stair‑steps | Smooth, crisp |
| Base Finish | Slightly rough | Acceptable smoothness (thick layers) |
Steps Taken:
- Enabled Adaptive Layers (0.06 mm min, 0.30 mm max).
- Set Detail Threshold to 0.45 mm.
- Added a “Gradual Support” for the overhanging cape.
- Ran a quick “Preview” slice to confirm thin layers on the face.
Result: 28 % time saving with no noticeable loss in visual quality.
Common Pitfalls & How to Fix Them
| Issue | Symptom | Fix |
|---|---|---|
| Z‑Seam Visible at Height Transitions | Thin‑to‑thick layer jumps cause a faint line. | Increase Transition Smoothing to 3 mm or enable “Z‑Seam Alignment – Random” to spread the seam. |
| Under‑Extrusion on Thin Layers | Gaps or weak walls on fine details. | Raise Flow Rate by 2–3 % for the thin‑layer region (use “Adaptive Flow” if available). |
| Stringing on PETG | Thin layers produce extra strings. | Lower Print Temperature by 5 °C and enable Retraction (see our Cura Retraction Settings Guide). |
| Layer Shifting | Sudden jump in Z‑axis leads to mis‑aligned layers. | Verify Z‑offset and ensure your printer’s lead screws are clean; also keep Maximum Layer Height ≤ 0.30 mm for most printers. |
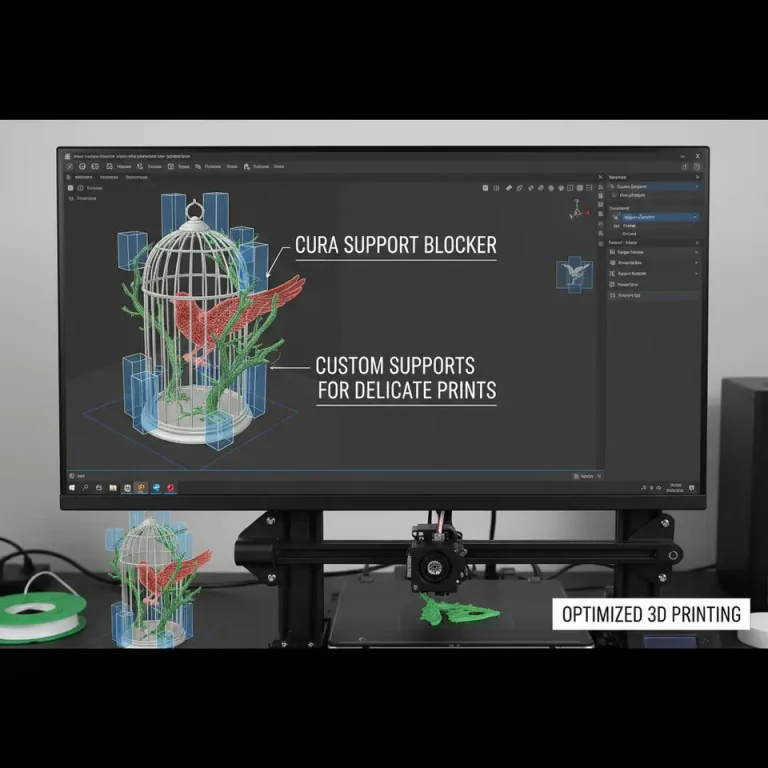
| Support Over‑Generation | Adaptive algorithm adds excessive support on steep slopes. | Manually edit Support Settings – set “Support Overhang Angle” to 60° or use “Support Blocker” on non‑critical areas. |
Integrating Adaptive Layers into an Automated Workflow (n8n Example)
For professionals who run dozens of prints daily, manual slicing can become a bottleneck. Here’s a quick outline of how to automate adaptive slicing with n8n, the open‑source workflow automation tool:
- Trigger Node – Watch a shared folder (e.g., Dropbox) for new STL files.
- HTTP Request Node – Call Cura’s CLI (
CuraEngine slice -j …) with a JSON profile that includes"adaptive_layer": true,"min_layer_height": 0.06,"max_layer_height": 0.30. - Set Variable Node – Adjust the detail_threshold based on file metadata (e.g., if filename contains “miniature”).
- File Write Node – Save the generated G‑code to a network drive.
- Notification Node – Send a Slack message with a link to the G‑code and a preview image.
By embedding adaptive settings directly into the JSON profile, you guarantee consistent results across all prints without ever opening the Cura UI. For a deeper dive into Cura automation, check out our Reduce Print Time Cura Guide.
Frequently Asked Questions (FAQ)
Q1: Does Adaptive Layers work with multi‑material prints?
A: Yes, but you must enable it for each extruder profile individually. Keep the min/max heights consistent across materials to avoid sudden Z‑jumps when switching.
Q2: Can I preview the exact layer height distribution before slicing?
A: In Cura 5.x, the Layer View shows a color‑coded map (thin = blue, thick = red). Use the “Height Map” toggle for a more detailed overlay.
Q3: Will Adaptive Layers increase the file size of the G‑code?
A: Slightly, because the slicer adds extra Z‑move commands for height changes. The increase is typically < 5 % and is outweighed by the time savings.
Q4: Is Adaptive Layers compatible with SLA slicers?
A: No. Adaptive Layers is a FDM‑specific feature; SLA slicers handle layer height differently (e.g., variable layer height plugins).
Q5: How does Adaptive Layers interact with “Spiralize (Vase Mode)”?
A: They are mutually exclusive. Spiralize forces a constant layer height, so Cura disables Adaptive Layers when Vase Mode is active.
Call to Action
Ready to shave hours off your next print while keeping every detail razor‑sharp? Enable Cura’s Adaptive Layers today, experiment with the settings above, and share your results in the comments!
For more step‑by‑step tutorials, follow us on Twitter, Instagram, and YouTube, or subscribe to our newsletter for monthly deep‑dives into slicer tech.
Visit our homepage https://curaslicers.com for the latest 3D printing tips, downloadable profiles, and community forums.
Happy slicing!
Sources
- Ultimaker Cura Documentation – Adaptive Layers Overview. https://ultimaker.com/software/ultimaker-cura
- “Variable Layer Height in Cura – How It Works,” All3DP, 2024. https://all3dp.com/2/variable-layer-height-cura/
- “Optimizing Print Time with Adaptive Slicing,” 3DPrint.com, 2023. https://3dprint.com/311456/adaptive-slicing/
- “Understanding Curvature‑Based Layer Height,” MatterHackers Blog, 2022. https://matterhackers.com/news/curvature-based-layer-height