Cura Guide to G‑Code vs 3MF File Formats
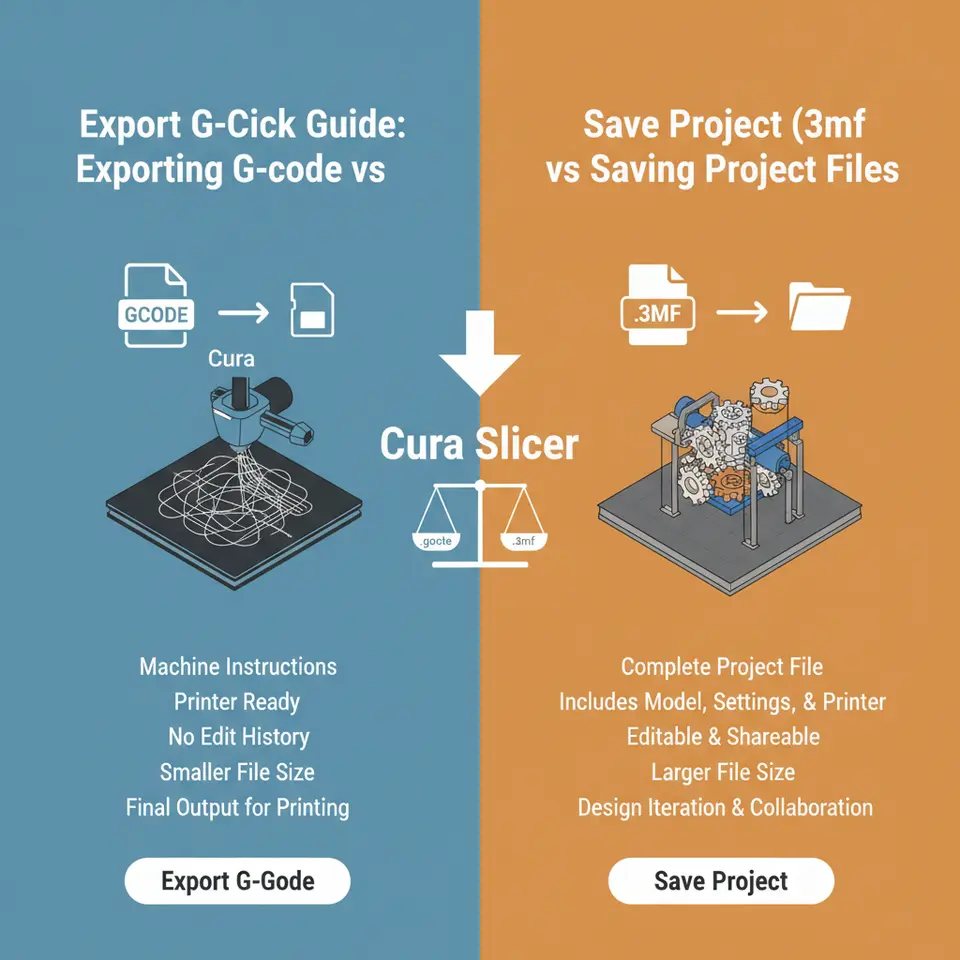
Cura Slicer Quick Guide: Exporting G‑Code vs Saving Project Files (.3MF vs .GCODE)
- Understand the differences between .gcode and .3mf files for better printing results.
- Choose the right export option based on your project’s needs for reproducibility or immediate printing.
- Avoid common pitfalls when sharing files with teammates to ensure smooth collaboration.
- Utilize actionable settings from Cura to enhance your workflow and maintain version control.
- Learn best practices for integrating Cura with workflow automation tools.
Table of Contents
- 1. What’s Inside a .GCODE File?
- 2. What’s Inside a .3MF Project File?
- 3. When to Export .GCODE vs .3MF – Decision Matrix
- 4. How Cura Stores Profiles, Materials, and Dependencies
- 5. Step‑by‑Step: Exporting G‑Code and .3MF in Cura
- 6. Sharing Printable Projects Without Losing Settings
- 7. Common Pitfalls & How to Avoid Them
- 8. Practical Takeaways – Actionable Cura Settings
- 9. Integrating Cura with Workflow Automation (n8n)
- 10. Real‑World Example: From Design to Production
- 11. Frequently Asked Questions
- 12. Connecting the Dots – Why This Matters for CuraSlicers.com
1. What’s Inside a .GCODE File?
A .gcode file is the low‑level instruction set that tells your 3D printer exactly what to do, line by line:
| Command | Meaning |
|---|---|
G1 X… Y… Z… E… F… | Move the print head (linear move) while extruding filament at a set feed rate |
M104 S… | Set hot‑end temperature |
M140 S… | Set heated‑bed temperature |
M106 S… | Control part‑cooling fan speed |
The file is printer‑specific – it already contains the nozzle diameter, filament diameter, and any custom start/end G‑code you defined in Cura. Once saved, the file is a static snapshot; it cannot be edited in Cura without re‑importing the original model.
Pros
- Ready to print on any compatible printer (no extra steps).
- Small file size – typically a few megabytes for a 100 mm part.
- Ideal for archiving a final version of a print.
Cons
- No design or slicing metadata (layer height, support type, material profile).
- Hard to version – you must rename files manually (e.g.,
part_v1.gcode,part_v2.gcode). - Sharing with a teammate who uses a different printer or filament may cause mismatched settings.
2. What’s Inside a .3MF Project File?
The .3MF (3‑D Manufacturing Format) is a modern, XML‑based container that can hold multiple models, support structures, and the full Cura slicing configuration:
- Model geometry – the original STL/OBJ files.
- Slicing settings – layer height, print speed, retraction, cooling, etc.
- Material & printer profiles – the exact filament type, temperature, and printer definition used.
- Custom supports, modifiers, and even post‑processing scripts.
Cura stores the .3MF as a single, self‑contained project that can be opened later and edited exactly as it was saved.
Pros
- Complete reproducibility – open the file later and you get the exact same slicer settings.
- Perfect for collaboration – teammates can load the project and instantly see your material choices, support placement, and custom settings.
- Version control friendly – you can keep incremental .3MF files in Git or a cloud drive and compare changes.
Cons
- Not directly printable – you must slice again or export G‑code before sending to the printer.
- Slightly larger file size (often 2–3× the .gcode) because it stores the original mesh.
- Some older slicers or firmware (especially on budget printers) cannot read .3MF, so you still need a .gcode for the final print.
3. When to Export .GCODE vs .3MF – Decision Matrix
| Scenario | Use .GCODE | Use .3MF |
|---|---|---|
| Final production run on a single printer | ✅ | ❌ |
| Sharing a printable design with a maker community | ✅ (if you want a “just‑print‑it” file) | ✅ (if you want to share settings) |
| Collaborative development (multiple engineers, different printers) | ❌ | ✅ |
| Version‑controlled repository (Git, Bitbucket) | ❌ (binary diff is useless) | ✅ |
| Teaching / tutorial where you want to show slicer UI steps | ❌ | ✅ |
| Rapid prototyping with frequent tweaks | ✅ (quick export) | ✅ (if you want to keep a history) |
4. How Cura Stores Profiles, Materials, and Dependencies
Cura keeps its configuration in a user‑specific folder (Windows: %APPDATA%\cura\5.0\ or similar). Inside you’ll find:
material– JSON files for each filament (temperature, flow, retraction).machine_extruder_trains– printer definitions (nozzle size, build volume).quality– layer‑height presets.scripts– custom start/end G‑code snippets.
When you save a .3MF, Cura embeds copies of the active material and printer profiles into the file. This means the project can be opened on a different computer without needing to install those profiles first – Cura will automatically create temporary profiles based on the embedded data.
Pro tip: If you plan to share a .3MF with external collaborators, double‑check the “Include custom material” option in the *Save Project As* dialog. This prevents “Missing material profile” errors later.
5. Step‑by‑Step: Exporting G‑Code and .3MF in Cura
Exporting G‑Code (the most common workflow)
- Load your model → Arrange, scale, rotate.
- Choose the printer and material from the right‑hand sidebar.
- Adjust slicing settings (layer height, speed, supports, etc.).
- Click Slice.
- In the Save to File dialog, select
.gcode(default). - Name the file meaningfully (e.g.,
gear_v2_0.2mm.gcode). - Click Save → Transfer to printer (SD card, USB, OctoPrint).
Saving a .3MF Project (for reproducibility)
- Follow steps 1‑4 above.
- Instead of “Save to File,” click “Save Project” (disk icon with a folder).
- In the dialog, choose .3mf as the file type.
- Check the boxes for “Include custom material” and “Include printer profile”.
- Click Save → Store in your version‑control folder or cloud drive.
Remember: A .3MF can be opened later by clicking File → Open File(s)… and selecting the .3MF. Cura will instantly reconstruct the slicer view exactly as you left it.
6. Sharing Printable Projects Without Losing Settings
If you need to give a teammate a ready‑to‑print file and the slicing recipe, follow this two‑step approach:
- Export .3MF (as described above).
- Export G‑code for the target printer.
- Package both in a zip folder named after the part (e.g.,
gear_v2_package.zip). - Include a short README.txt with:
- Material type (e.g., “PLA – 210 °C nozzle, 60 °C bed”).
- Recommended printer model (or note that the .gcode is for a specific printer).
- Any post‑processing steps (e.g., “remove supports, sand, then UV cure”).
By providing both files, you let the recipient print immediately or tweak the settings later by opening the .3MF.
7. Common Pitfalls & How to Avoid Them
| Pitfall | Why It Happens | Fix |
|---|---|---|
| Missing material profile when opening a .3MF on another computer | Cura didn’t embed the custom material, or the recipient’s Cura version is older. | Always tick “Include custom material” and ask the receiver to use Cura 5.0+ (or the version you used). |
| Wrong printer definition causing over‑extrusion or under‑extrusion | The .3MF references a printer profile that doesn’t exist on the new machine. | Include the printer profile in the .3MF or provide a separate printer profile export (*.json). |
| G‑code generated for a different nozzle size | You changed nozzle size after slicing but exported the old .gcode. | Verify nozzle diameter in the Machine Settings before slicing, or use “Adaptive Layers” to auto‑adjust. |
| Large file size slowing down version control | .3MF contains high‑resolution meshes. | Use Mesh reduction (e.g., MeshLab) before saving, or keep the original STL separate and reference it in the .3MF. |
| Inconsistent naming leading to lost versions | Files named “part.gcode”, “part (1).gcode”, etc. | Adopt a naming convention: <project>_v<major>.<minor>_<layerHeight>mm.<ext> (e.g., gear_v2.1_0.2mm.gcode). |
8. Practical Takeaways – Actionable Cura Settings
| Goal | Cura Setting | Recommended Value (PLA) | How to Apply |
|---|---|---|---|
| Consistent layer height across revisions | Layer Height | 0.2 mm (standard) | Set in Custom → Quality; save as a Quality Profile (0.2mm_Standard). |
| Reproducible material temperatures | Printing Temperature | 210 °C (nozzle) / 60 °C (bed) | Create a Material Profile named PLA_210_60; enable “Include custom material” when saving .3MF. |
| Fast yet reliable first layer | Initial Layer Speed | 30 mm/s | In Custom → Speed, adjust Initial Layer Speed; optionally enable “Print Thin Walls” for better adhesion. |
| Version‑controlled slicing | Profile Naming | gear_v2.1_0.2mm | Use Save As in the Profile menu and store the JSON in your Git repo. |
| Avoid missing supports after sharing | Support Placement | Everywhere (or Touching Buildplate) | In Custom → Support, choose the appropriate option; it will be stored inside the .3MF. |
| Post‑processing script integration | Post‑Processing Scripts | OctoPrint Upload | Add via Extensions → Post‑Processing → Modify G‑code; saved in .3MF for teammates. |
9. Integrating Cura with Workflow Automation (n8n)
For teams that want to auto‑publish G‑code to a shared printer farm:
- Create an n8n workflow that watches a Dropbox folder for new
.gcodefiles. - When a file appears, the workflow uploads it to OctoPrint via its REST API.
- Add a notification step (Slack, email) with a link to the corresponding
.3mfstored in your Git repo for reference.
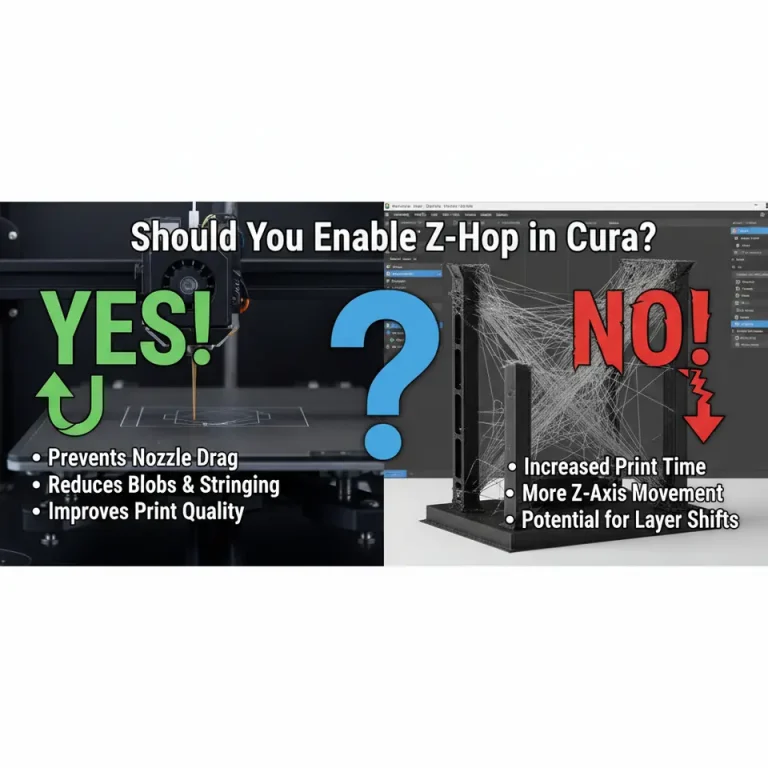
This approach eliminates manual copying and guarantees that the exact slicer settings used for the print are always archived. Need help building the workflow? Check out our guide on Enable Z‑Hop in Cura – a step‑by‑step tutorial for a similar automation example.
10. Real‑World Example: From Design to Production
Project: Custom gear for a robotics arm (Ø 50 mm, 5 mm thickness).
| Step | Action | File Produced |
|---|---|---|
| 1. Model created in Fusion 360 | Export as gear.stl | — |
| 2. Import into Cura, select Ender‑3 profile | Set Layer Height = 0.15 mm, Infill = 30 %, Support = Touching Buildplate | — |
| 3. Save project | File → Save Project As → gear_v1.0.15mm.3mf (includes material PLA_210_60) | gear_v1.0.15mm.3mf |
| 4. Export G‑code for Ender‑3 | Slice → Save to File → gear_v1.0.15mm.gcode | gear_v1.0.15mm.gcode |
| 5. Upload G‑code to OctoPrint via n8n workflow | Automated | gear_v1.0.15mm.gcode |
| 6. Archive .3MF in Git | Commit with message “Add first‑version gear project” | gear_v1.0.15mm.3mf |
When the design is later revised (e.g., add a keyway), the team simply branches the repository, updates the Cura settings, and repeats the steps – every version is fully reproducible.
11. Frequently Asked Questions
Q1: Can I edit a .gcode file directly in Cura?
A: No. Cura only reads the original mesh (STL/OBJ). To change settings you must reopen the source model or the .3MF project.
Q2: Are .3MF files compatible with other slicers?
A: Many modern slicers (PrusaSlicer, Orca Slicer) can import .3MF, but they may not retain Cura‑specific settings such as custom support blockers. Use .3MF primarily when staying within Cura.
Q3: How does Cura handle multiple extruders in a .3MF?
A: The file stores each extruder’s material profile and tool‑change commands. When opened on a machine with fewer extruders, Cura will warn you and may fall back to the primary extruder.
Q4: Should I keep both .gcode and .3MF in my archive?
A: Yes. The .gcode is your production artifact, while the .3MF is the source of truth for future tweaks or audits.
12. Connecting the Dots – Why This Matters for CuraSlicers.com
At CuraSlicers.com we specialize in turning these technical nuances into practical, step‑by‑step guides. Whether you’re looking for:
- Cura speed‑quality profiles to balance fast prints with fine detail,
- Cura support settings for effective prints, or
- Hidden Cura features you might have missed,
our library of tutorials is built to complement the workflow you’ve just learned. By mastering the .gcode vs .3MF decision, you’ll unlock smoother collaboration, cleaner version control, and fewer “profile missing” errors.
Call to Action
Ready to make every print reproducible? Download our free “Cura Project Management Checklist” (link at the bottom of the page) and start organizing your .3MF and .gcode files like a pro.
Explore more:
- Learn how to reduce print time with our Reduce Print Time Cura Guide.
- Master Cura’s ironing feature for ultra‑smooth tops in our Cura Ironing Test.
Visit our homepage for the latest tutorials, join our community on Twitter and YouTube, and subscribe to the newsletter for weekly tips that keep your prints ahead of the curve.
References
- Ultimaker Cura Documentation – “File Formats”.
- “3MF File Format Overview”. 3MF Consortium.
- “Best Practices for Version Control in 3D Printing”. *Additive Manufacturing Journal*, 2023.